遅ればせながら、pnpmの存在を最近知りました。使ってみたところ、かなり気に入りましたので紹介します!
「Node.js」タグの記事が4件件あります
全てのタグを見るJenkinsのビルドをDockerコンテナ内で行う手順
なんとなくは理解していたつもりですが、JenkinsのビルドをDockerコンテナ内で実行する方法を改めて調査しました。環境構築手順と合わせてまとめ記事にしました。
Greengrass(v1.9.4)上でNode.js(v8.10)のLambdaのデプロイができない問題の解決法
過去にQiitaに投稿した内容のアーカイブです。
※追記 Greengrass Nodejs SDKのGitHubに書いてますね。。 https://github.com/aws/aws-greengrass-core-sdk-js
Rename the file to nodejs8.10 Make sure the file is not a symlink.
シンボリックリンクもだめらしいです。
GreengrassにNode.js(v8.10)のLambdaをデプロイすると、エラーになります。
Deployment xxxxx of type NewDeployment for group xxxxx failed error: worker with xxxxx failed to initialize
ログを確認すると、nodejs8.10というバイナリがないよと言っているようです。
[ERROR]-runtime execution error: unable to start lambda container. {"errorString": "failed to run container sandbox: container_linux.go:344: starting container process caused \"exec: \\\"nodejs8.10\\\": executable file not found in $PATH\""}
無理やり作ってやると、うまくいくようになりました。
sudo ln -s /usr/bin/nodejs /usr/bin/nodejs8.10
Node.jsのセットアップの問題?
環境
OS: Ubuntu 18.04(VirtualBox on Mac) Greengrass: 1.9.4 Node.js:10.17.0
Node.jsのインストールは公式サイト( https://github.com/nodesource/distributions/blob/master/README.md )に従いました。(2019/11/24時点で最新のv10.17.0がインストールされました)
curl -sL https://deb.nodesource.com/setup_10.x | sudo -E bash -
sudo apt-get install -y nodejs
Raspberry Piでは続きがあります
Raspberry Piでも同様の問題が起きますが、上記手順でデプロイは成功するようになります。ただし、Lambdaの実行時にエラーとなって実行されません。 こちらは解決法がわかりません。。。ヘルプ。。。
Raspberry Pi Zero W OS:Raspbian Buster Greengrass: 1.9.3 Node.js:10.16.3
Lambdaが呼び出されると、以下のエラー
[ERROR]-standard_init_linux.go:207: exec user process caused "operation not permitted"
「AWS IoTのデータをKibanaに表示する」をやってみた。2017/3版
過去にQiitaに投稿した内容のアーカイブです。
AWS IoTのデータをKibanaに表示するを実際にやってみました。
記事の投稿以降、AWS IoTが直接Elasticsearch Serviceと連携できる様になったとのことで、そのあたりも試しました。
【アップデート】 AWS IoT が Elasticsearch Service と CloudWatch に連携できるようになりました https://aws.amazon.com/jp/blogs/news/aws-iot-update/
なんと、サーバー側はノンコーディングです。
Elasticsearchインスタンスを立ち上げる
元記事と基本的に同じです。
まずは、立ち上がりが遅いElasticsearchを先に立ち上げておきましょう。
Domain nameを plant-sensor、Instance typeはt2.micro.elasticsearchが選べなかったのでt2.small.elasticsearch (Free tire eligible)、Instance countは 1、Strage typeは EBS に設定します。
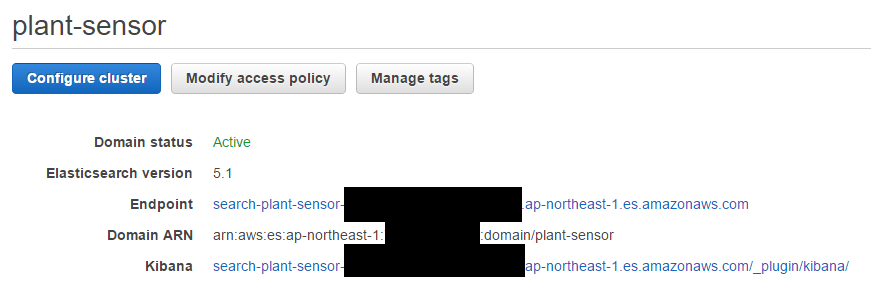
Kibana のURLをクリックするとKibana4の画面が表示されます。EndpointのURLはAWS IoTで使います(自動で設定されます)。
AWS IoTでThingやRuleを作成
元記事の通りしようとしても、画面構成が違うのか、メニューが見つかりません。なので、順を追って解説します。
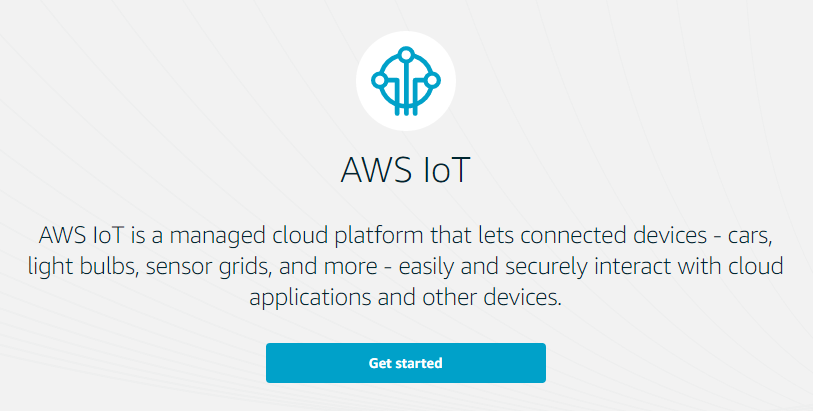 (こんな感じでしたっけ?)
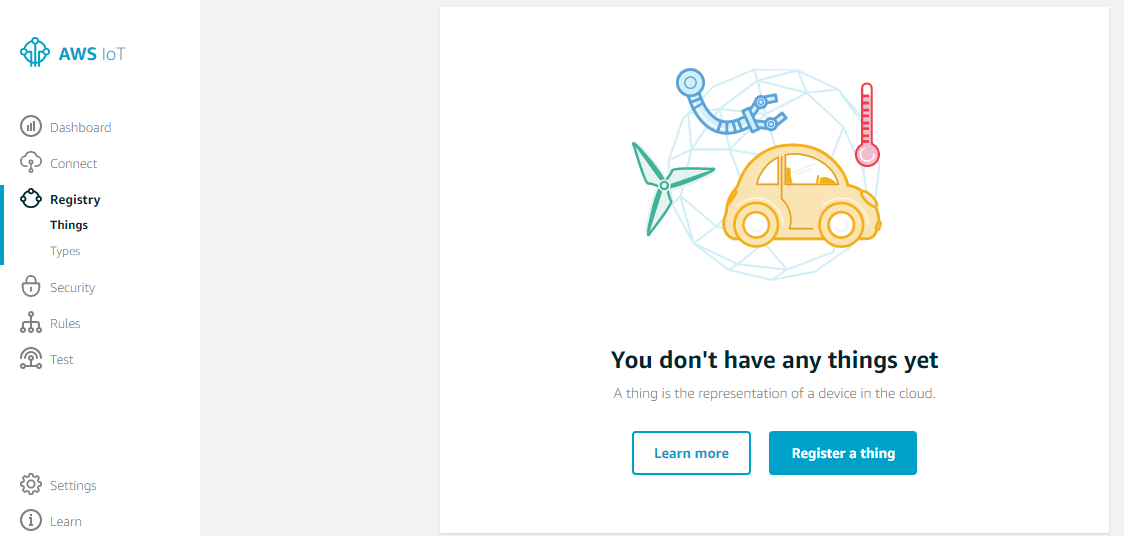
「Get started」を押します。そして、左メニューの[Registory]->[Things]を選択します。 「Register a thing」を押します。
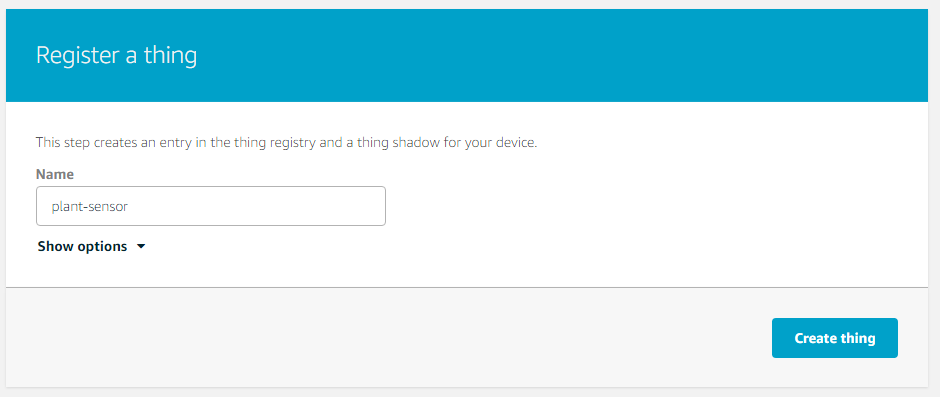
plant-sensor という名前のThingを作成。
左メニューの[Security]を選び、「Create certificate」を選択します。
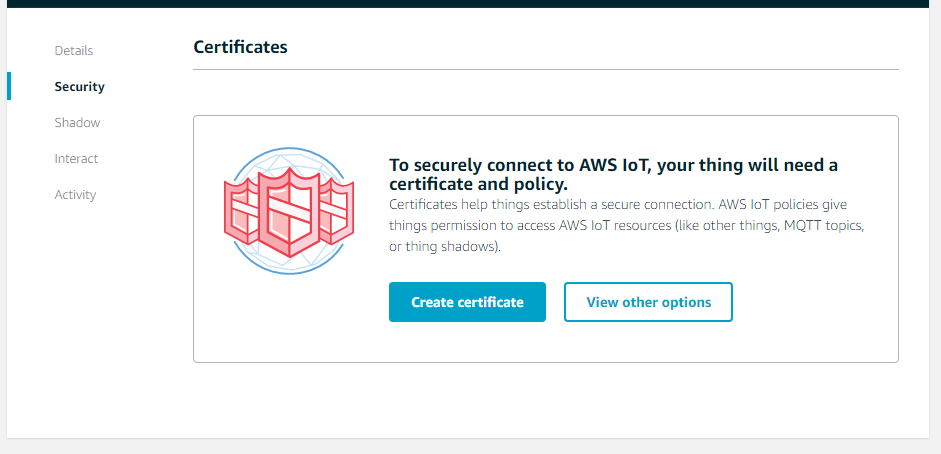
色々ダウンロードできますので、一旦すべてダウンロードした後、「Activate」を押します。
ダウンロードできるもの
- A certificate for this thing
- A public key
- A private key
- A root CA for AWS IoT
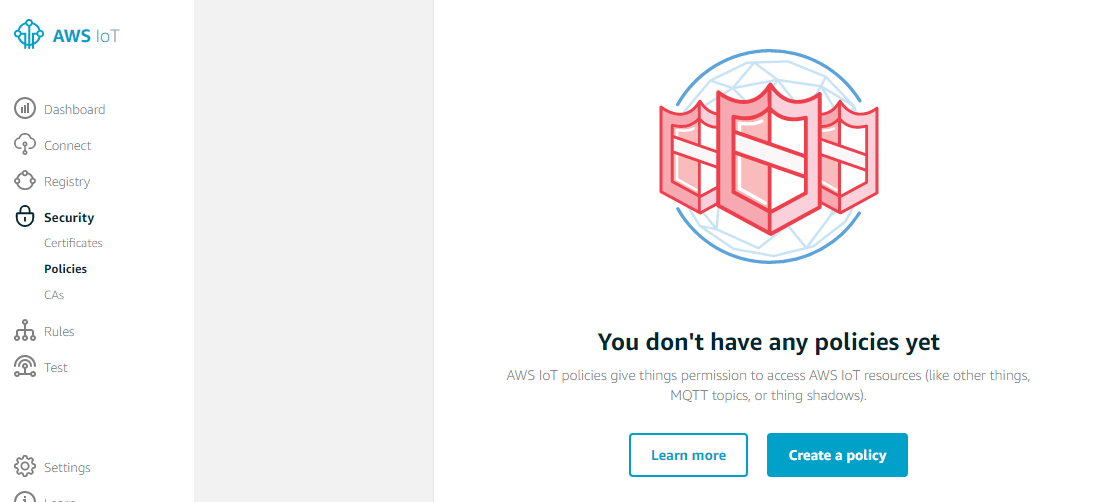
続いてPolicyを作成。トップ画面の左メニューの[Policies]を選び、「Create a Policy」を選択します。
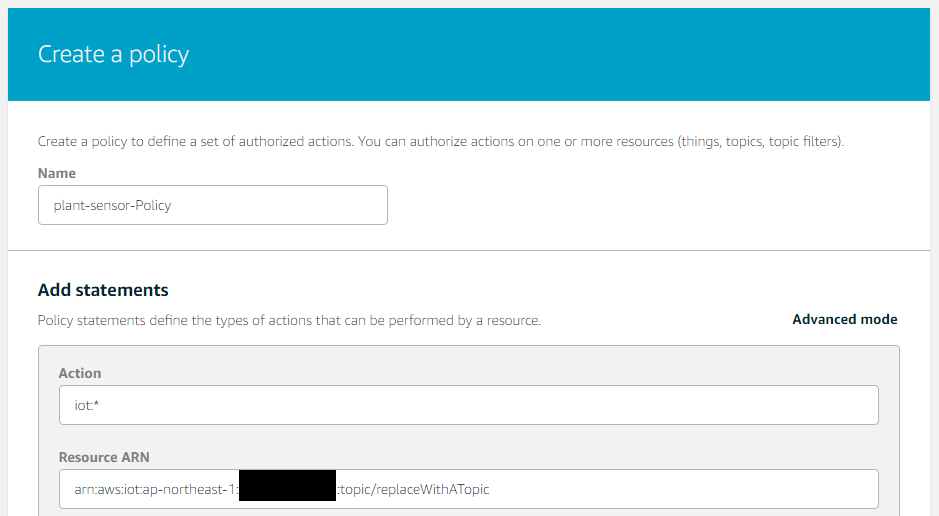
名前をつけ、とりあえずActionはiot:*としました。Resource ARNについてですが、キャプチャではtopic/replaceWithATopicとなってますが、plant/sensorsまたは*/*などに変えましょう。
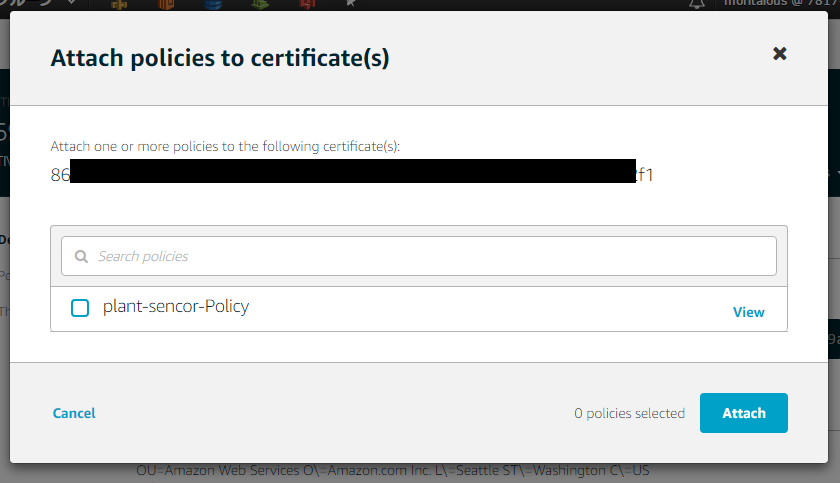
certificateとPolicyの紐付け 左メニューの[Certificates]を再度選び、先程作成したceritificateを選択。「Actions」メニューの「Attatch policy」を選ぶ。
同様に、「Attatch thing」も行います。
最後にRuleを作成します。トップ画面の左メニューの[Rules]を選び、「Create a rule」を選択します。
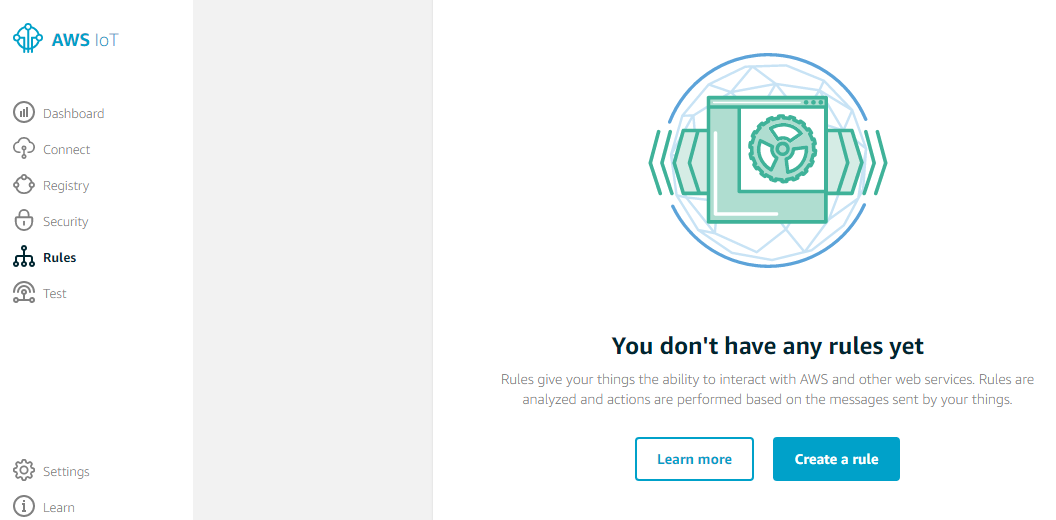
今回は plant/sensors というトピック名でデータを飛ばそうと思うので、Topic filterに plant/sensors を設定します。
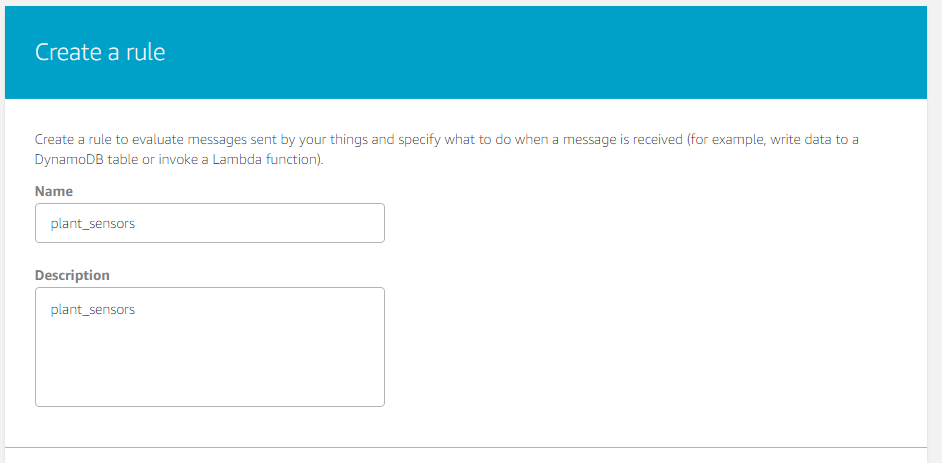
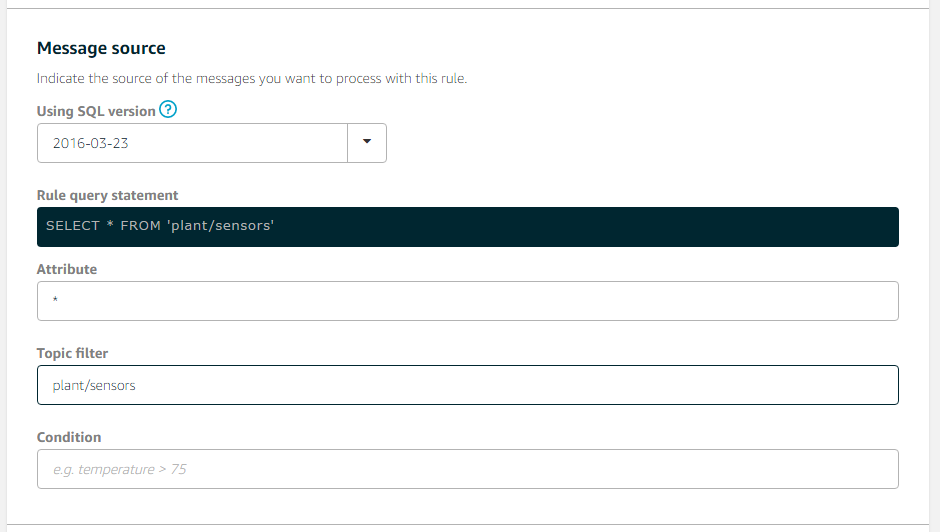
Actionの指定は、「Add Action」ボタンを押して行います。
2017/3/14時点で以下のActionが選べます。一番下の「Elasticsearch Service」を選びます。
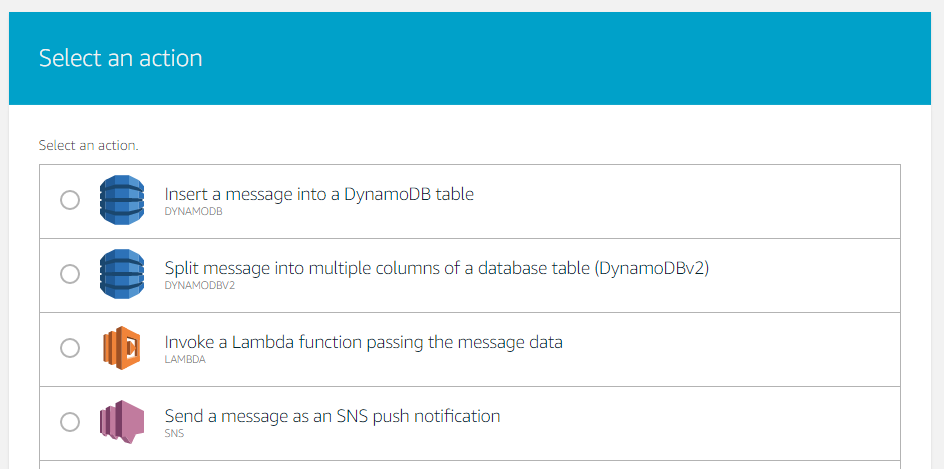
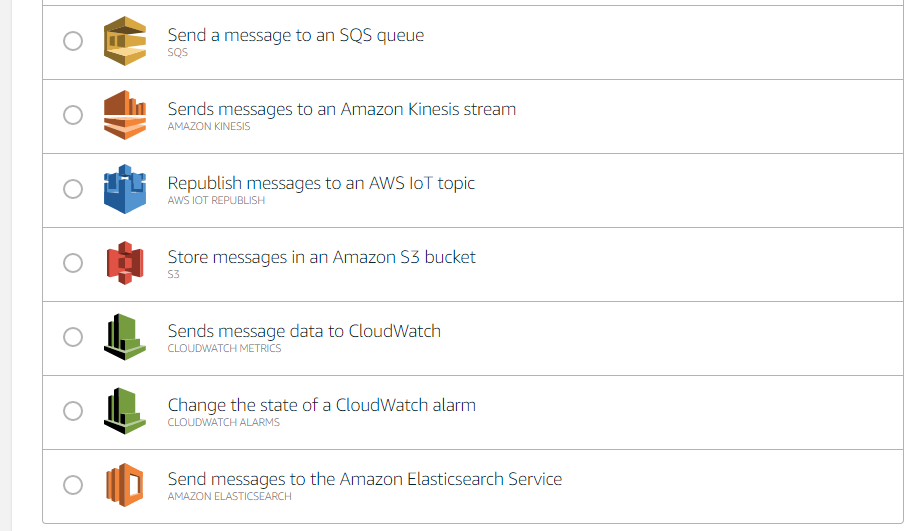
Elasticsearch Service用の設定画面が出ます。
IDに${newuuid()}、Indexにtimestamp、Typeにtimestampと指定し、IAMロールも追加します。
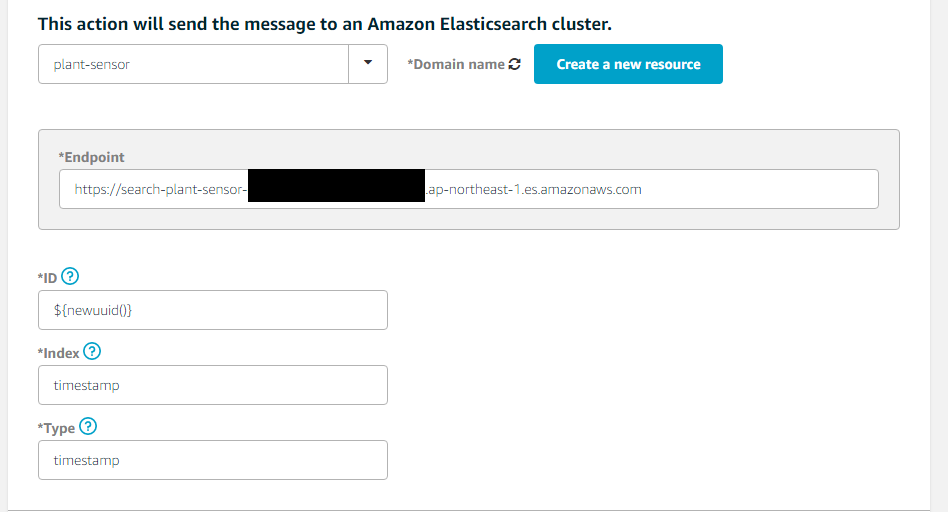
これで、Thing, Certificate, Policy, Ruleが作成できました。元記事のように一覧では表示されないようです。
仮想的なIoTデバイスを作成
元記事の通り、plant-sensor.jsを作成します。 そして実行です。
実行してみましょう。
$ npm init
$ npm install --save aws-iot-device-sdk
$ node plant-sensor.js
connect
{"timestamp":"2017-03-14T15:19:47.401Z","humidity":45,"temperature":19,"lux":32701,"moisture":309}
{"timestamp":"2017-03-14T15:19:48.405Z","humidity":43,"temperature":19,"lux":33473,"moisture":309}
{"timestamp":"2017-03-14T15:19:49.406Z","humidity":44,"temperature":19,"lux":30713,"moisture":295}
{"timestamp":"2017-03-14T15:19:50.408Z","humidity":42,"temperature":20,"lux":31499,"moisture":296}
{"timestamp":"2017-03-14T15:19:51.414Z","humidity":46,"temperature":20,"lux":30687,"moisture":315}
{"timestamp":"2017-03-14T15:19:52.417Z","humidity":46,"temperature":20,"lux":31960,"moisture":302}
{"timestamp":"2017-03-14T15:19:53.420Z","humidity":45,"temperature":20,"lux":30782,"moisture":301}
Kibanaでダッシュボードを作成する
Kibanaを起動すると、エラー画面のような形となりますが、初期設定ができていないからだと思います。
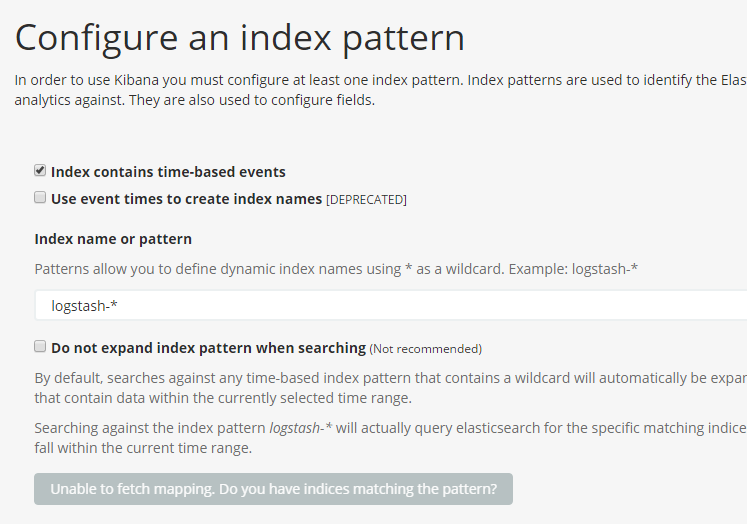
Index name or patternのところにtimestampといれると、設定できます。
Discoverタブを見てみると、ちゃんとデータが来ているのを確認できます。
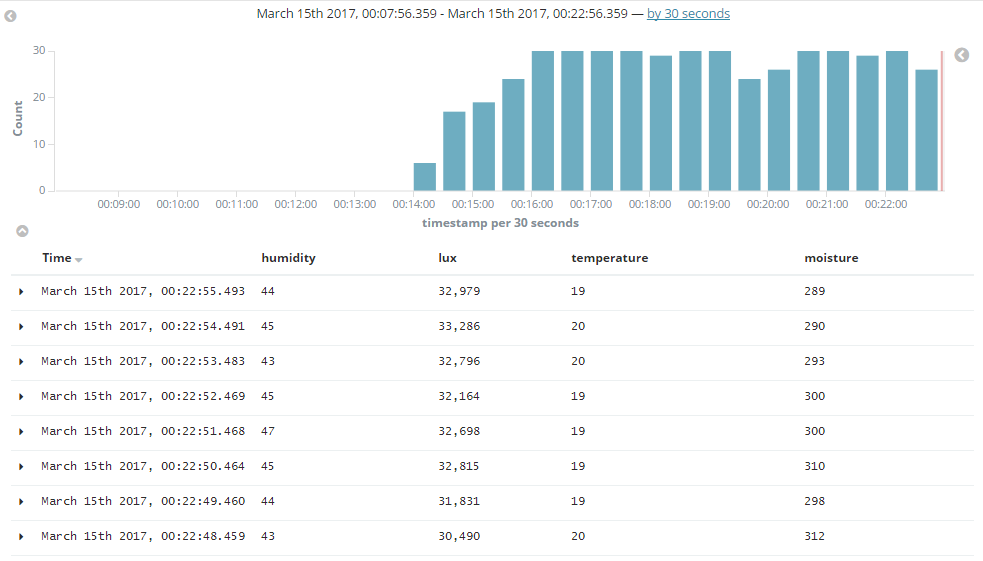
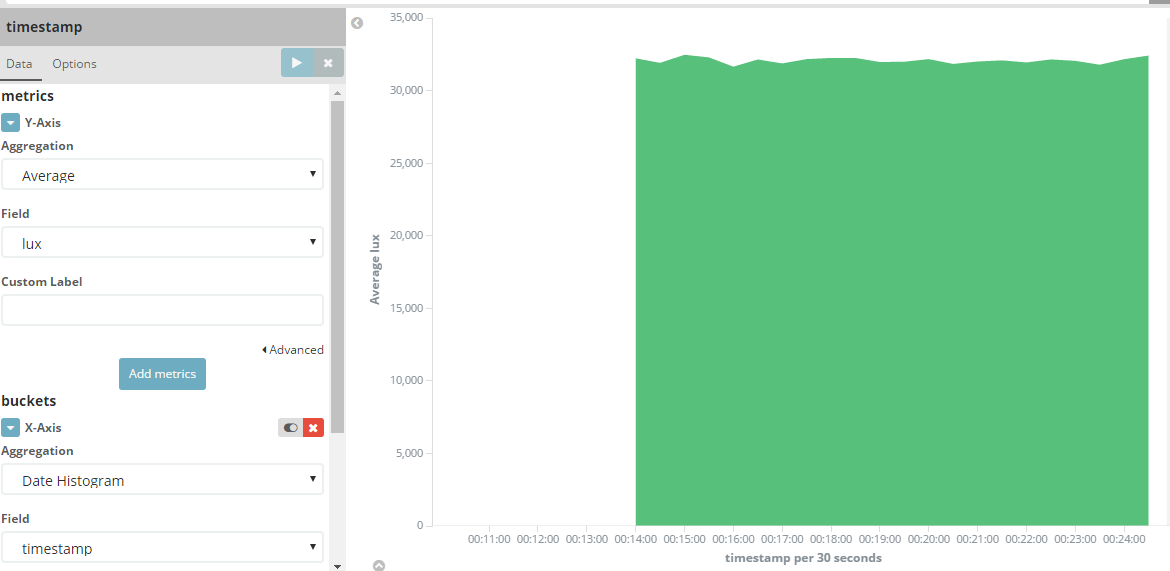
では、チャートを作ってみましょう。Visualizeタブで、以下の様な感じでグラフを作成します。
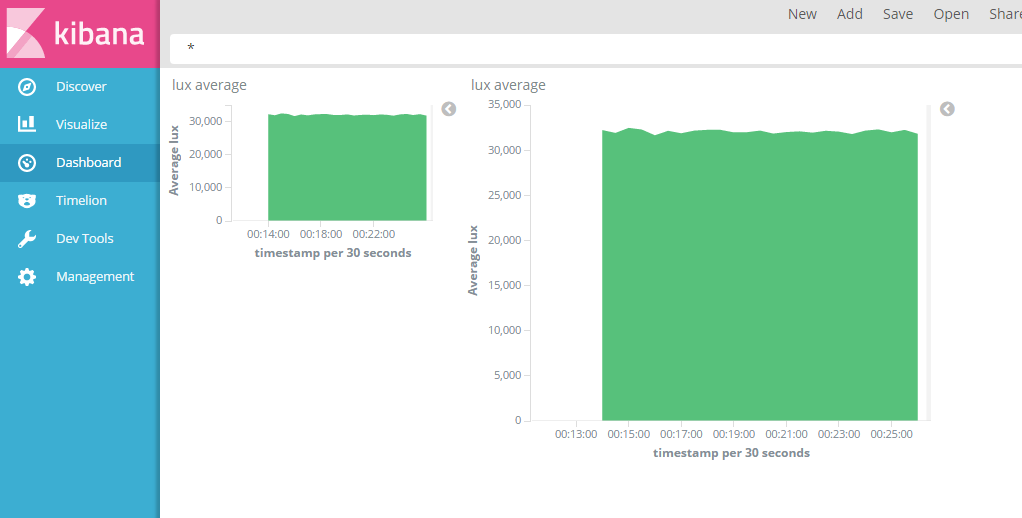
最後にダッシュボードを作成します。Dashboardタブを選択して、Add visualization で先ほど作成したチャートをポンポンと選択していくだけです!
終わりに
元記事を作成された、@hideyuki さん、勝手に更新版を投稿してしまいました。ありがとうございます。