メインコンテンツまでスキップ

「Docker」タグの記事が15件件あります

全てのタグを見る

· 約4分
moritalous
お知らせ

過去にQiitaに投稿した内容のアーカイブです。

Docker Desktop問題をこちらの記事を参考に対応してました。 https://qiita.com/ohtsuka1317/items/617a865b8a9d4fb67989

私の環境だけかもしれませんが、Dockerコンテナ内で名前解決がうまくいきませんでしたので応急処置的な対処方法です。

Dockerデーモン起動

WSL2
sudo /etc/init.d/docker start

Ubuntuイメージを取得して起動、Bashに接続

WSL2
docker run -it ubuntu:latest bash

apt updateしてみる

Ubuntuコンテナ
root@6babda3e1bb7:/# apt update
Err:1 http://archive.ubuntu.com/ubuntu focal InRelease
Temporary failure resolving 'archive.ubuntu.com'
Err:2 http://security.ubuntu.com/ubuntu focal-security InRelease
Temporary failure resolving 'security.ubuntu.com'
Err:3 http://archive.ubuntu.com/ubuntu focal-updates InRelease
Temporary failure resolving 'archive.ubuntu.com'
Err:4 http://archive.ubuntu.com/ubuntu focal-backports InRelease
Temporary failure resolving 'archive.ubuntu.com'
Reading package lists... Done
Building dependency tree
Reading state information... Done
All packages are up to date.
W: Failed to fetch http://archive.ubuntu.com/ubuntu/dists/focal/InRelease Temporary failure resolving 'archive.ubuntu.com'
W: Failed to fetch http://archive.ubuntu.com/ubuntu/dists/focal-updates/InRelease Temporary failure resolving 'archive.ubuntu.com'
W: Failed to fetch http://archive.ubuntu.com/ubuntu/dists/focal-backports/InRelease Temporary failure resolving 'archive.ubuntu.com'
W: Failed to fetch http://security.ubuntu.com/ubuntu/dists/focal-security/InRelease Temporary failure resolving 'security.ubuntu.com'
W: Some index files failed to download. They have been ignored, or old ones used instead.
root@6babda3e1bb7:/#

名前解決ができてない模様

Ubuntuコンテナ
root@6babda3e1bb7:/# cat /etc/resolv.conf 
## This file was automatically generated by WSL. To stop automatic generation of this file, add the following entry to /etc/wsl.conf:
## [network]
## generateResolvConf = false
nameserver 172.17.48.1
root@6babda3e1bb7:/#

172.17.48.1はWSLのホストであるWindowsのIPアドレスです。

解決方法

resolv.confを上書きしちゃう

Ubuntuコンテナ
echo 'nameserver 8.8.8.8' | tee /etc/resolv.conf
root@6babda3e1bb7:/# apt update
Get:1 http://security.ubuntu.com/ubuntu focal-security InRelease [114 kB]
Get:2 http://archive.ubuntu.com/ubuntu focal InRelease [265 kB]
Get:3 http://security.ubuntu.com/ubuntu focal-security/universe amd64 Packages [796 kB]
Get:4 http://archive.ubuntu.com/ubuntu focal-updates InRelease [114 kB]
Get:5 http://security.ubuntu.com/ubuntu focal-security/restricted amd64 Packages [581 kB]
Get:6 http://security.ubuntu.com/ubuntu focal-security/multiverse amd64 Packages [30.1 kB]
Get:7 http://security.ubuntu.com/ubuntu focal-security/main amd64 Packages [1135 kB]
Get:8 http://archive.ubuntu.com/ubuntu focal-backports InRelease [101 kB]
Get:9 http://archive.ubuntu.com/ubuntu focal/universe amd64 Packages [11.3 MB]
Get:10 http://archive.ubuntu.com/ubuntu focal/multiverse amd64 Packages [177 kB]
Get:11 http://archive.ubuntu.com/ubuntu focal/restricted amd64 Packages [33.4 kB]
Get:12 http://archive.ubuntu.com/ubuntu focal/main amd64 Packages [1275 kB]
Get:13 http://archive.ubuntu.com/ubuntu focal-updates/multiverse amd64 Packages [33.4 kB]
Get:14 http://archive.ubuntu.com/ubuntu focal-updates/main amd64 Packages [1582 kB]
Get:15 http://archive.ubuntu.com/ubuntu focal-updates/universe amd64 Packages [1084 kB]
Get:16 http://archive.ubuntu.com/ubuntu focal-updates/restricted amd64 Packages [632 kB]
Get:17 http://archive.ubuntu.com/ubuntu focal-backports/universe amd64 Packages [6310 B]
Get:18 http://archive.ubuntu.com/ubuntu focal-backports/main amd64 Packages [2668 B]
Fetched 19.3 MB in 6s (3008 kB/s)
Reading package lists... Done
Building dependency tree
Reading state information... Done
4 packages can be upgraded. Run 'apt list --upgradable' to see them.
root@6babda3e1bb7:/#

正しいやり方かどうかはわかりません。

おまけ

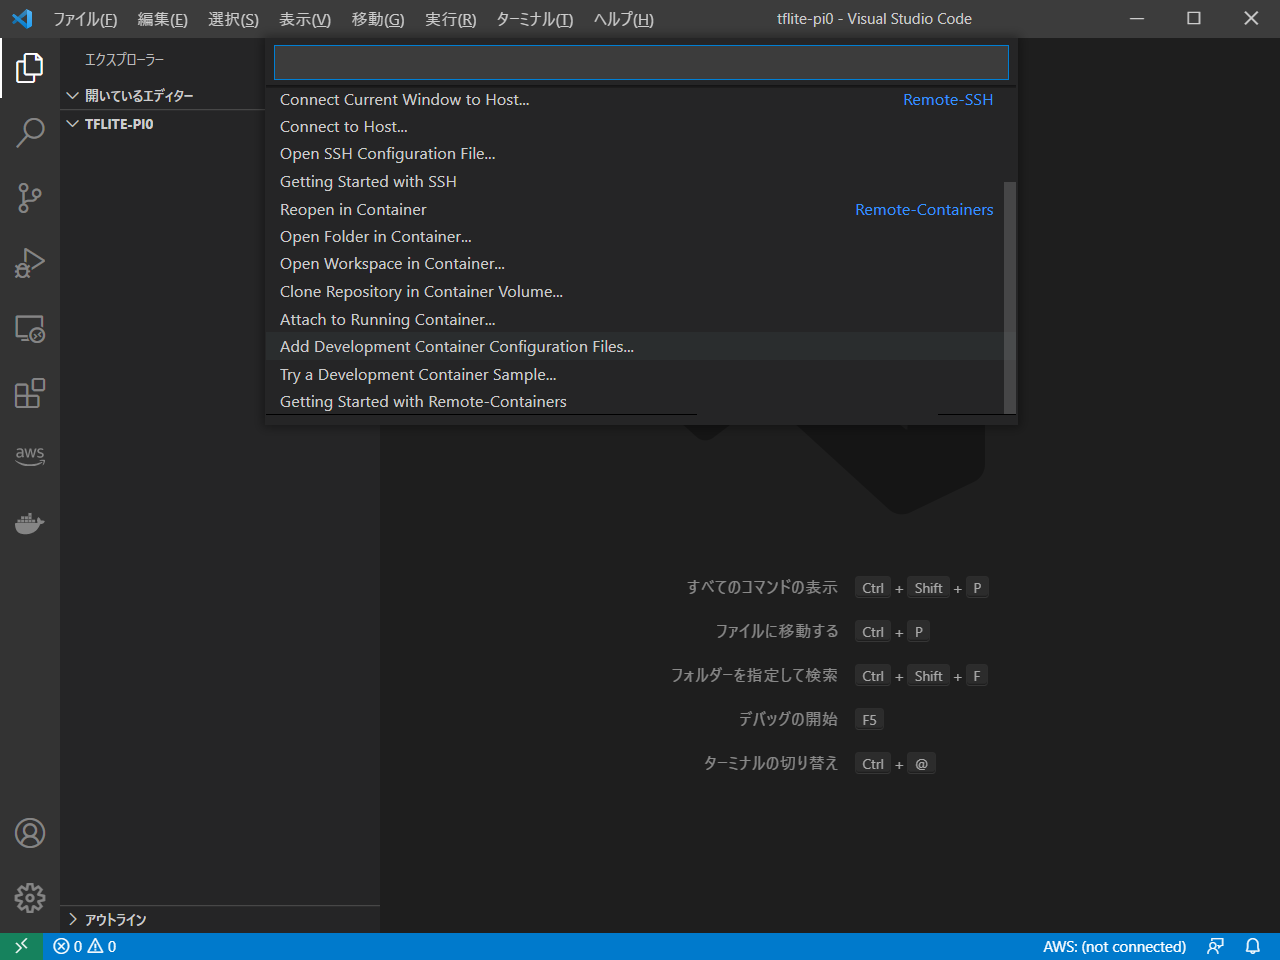
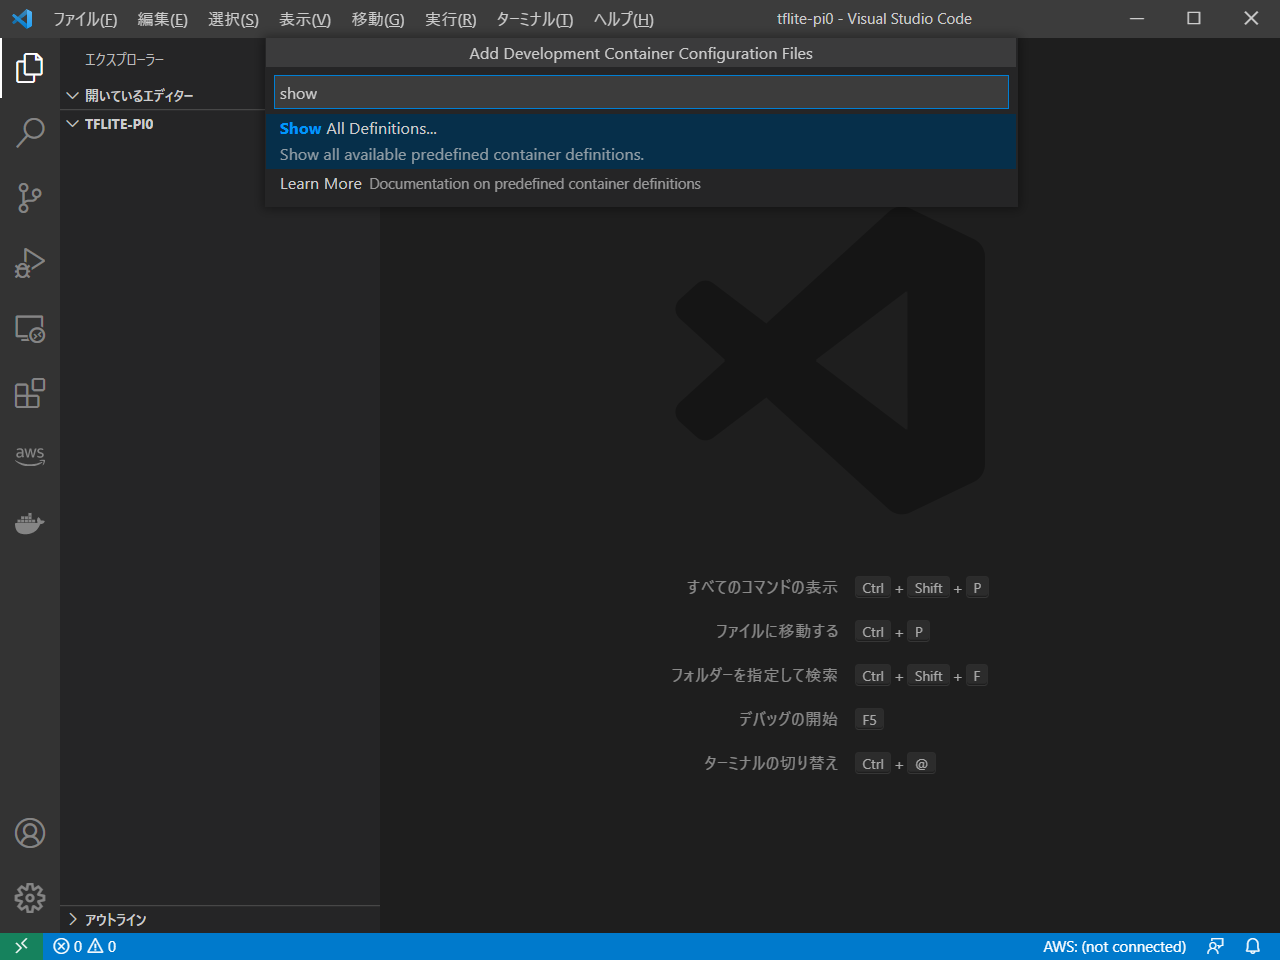
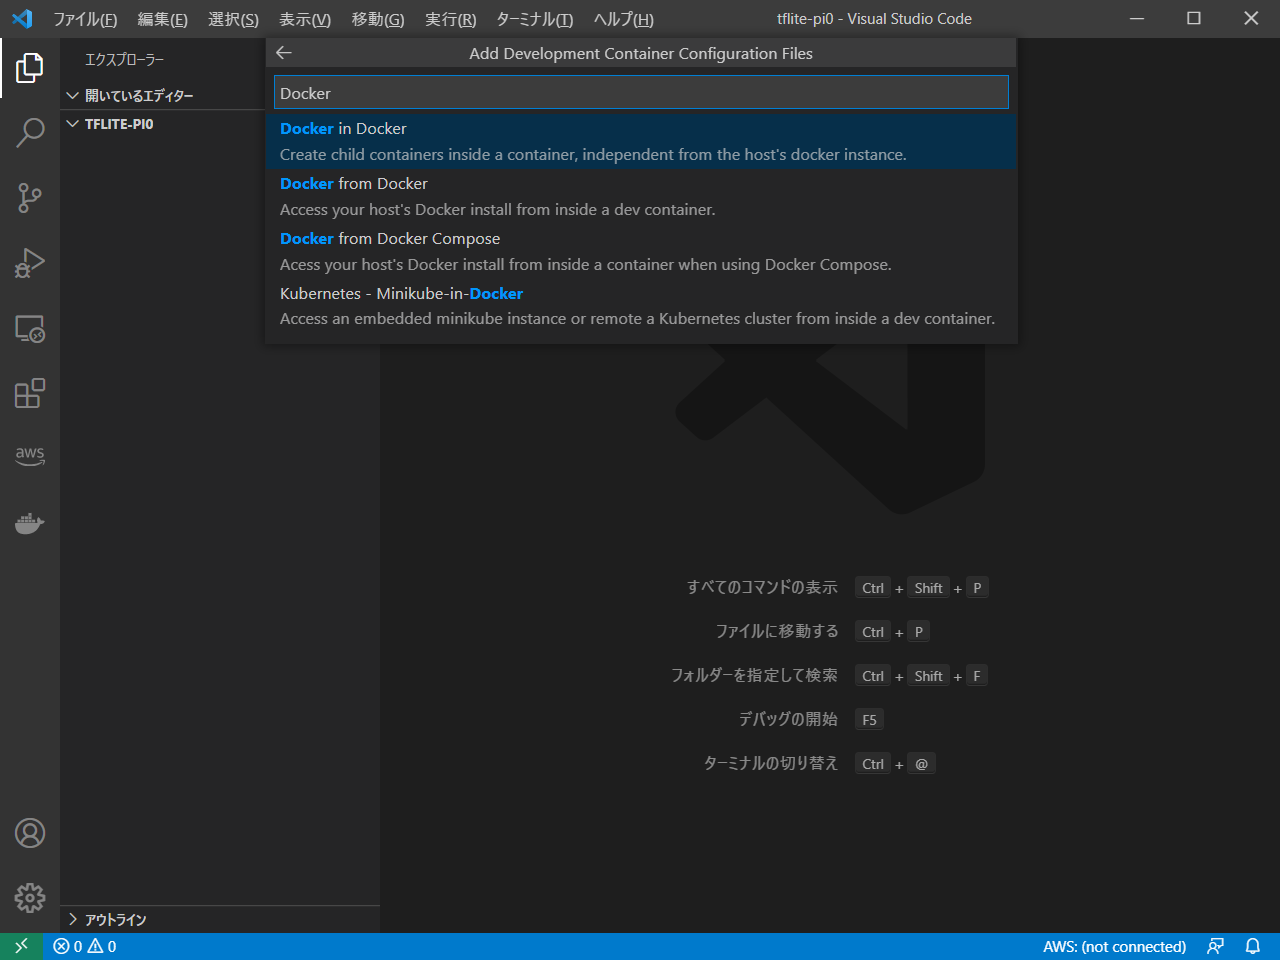
VSCodeのRemote - Containers拡張を使う場合は、devcontainer.jsonpostCreateCommandにでも書いておきましょう

devcontainer.json
// For format details, see https://aka.ms/devcontainer.json. For config options, see the README at:
// https://github.com/microsoft/vscode-dev-containers/tree/v0.202.1/containers/ubuntu
{
"name": "Ubuntu",
"runArgs": ["--init"],
"build": {
"dockerfile": "Dockerfile",
// Update 'VARIANT' to pick an Ubuntu version: hirsute, focal, bionic
// Use hirsute or bionic on local arm64/Apple Silicon.
"args": { "VARIANT": "focal" }
},

// Set *default* container specific settings.json values on container create.
"settings": {},


// Add the IDs of extensions you want installed when the container is created.
"extensions": [],

// Use 'forwardPorts' to make a list of ports inside the container available locally.
// "forwardPorts": [],

// Use 'postCreateCommand' to run commands after the container is created.
"postCreateCommand": "echo 'nameserver 8.8.8.8' | sudo tee /etc/resolv.conf",

// Comment out connect as root instead. More info: https://aka.ms/vscode-remote/containers/non-root.
"remoteUser": "vscode",
"features": {
}
}

· 約4分
moritalous
お知らせ

過去にQiitaに投稿した内容のアーカイブです。

M5StackのUnitV2をみて、手元のラズパイZeroでも何かできないかと思って調整してみました。

調べてみるとTensorflow Liteが動くようなので、サンプルの画像分類を試してみました。 ※ラズパイZero(ARMv6)向けのWheelパッケージは用意されていませんので、自前で作成する必要があります。手順は後ろに載せています

サンプルプログラムの実行

RaspberryPiZero
git clone https://github.com/tensorflow/examples --depth 1
cd examples/lite/examples/image_classification/raspberry_pi/
bash download.sh /tmp
python3 classify_picamera.py --model /tmp/mobilenet_v1_1.0_224_quant.tflite --labels /tmp/labels_mobilenet_quant_v1_224.txt

結果1(Mobilenet_V1_1.0_224_quant)

image.png

動作はするのですが、1回の推論に10秒近くかかります。。遅い。。

使用するモデルを軽いものに変えてみます。 ここの中からMobilenet_V1_1.0_128_quantに変更してみます。

RaspberryPiZero
cd /tmp/
wget https://storage.googleapis.com/download.tensorflow.org/models/mobilenet_v1_2018_08_02/mobilenet_v1_1.0_128_quant.tgz
tar zxvf mobilenet_v1_1.0_128_quant.tgz

ラベルは見つからなかったのでサンプルに含まれるものを使いまわしましょう

RaspberryPiZero
python3 classify_picamera.py   --model /tmp/mobilenet_v1_1.0_128_quant.tflite   --labels /tmp/labels_mobilenet_quant_v1_224.txt

結果2(Mobilenet_V1_1.0_128_quant)

image.png

3.5秒ぐらいなので、まあまあ早くなりました。

ラズパイZero向けのPython Wheelパッケージを作成する

残念ながらラズパイZero(ARMv6)向けのWheelパッケージは用意されていません。 ラズパイ2以降のARMv7用は用意されています。 https://www.tensorflow.org/lite/guide/python

ただ、自分でビルドする手順は用意されていましたので、それに沿ってやってみました。

VSCodeでDocker in Dockerコンテナを起動

ここは好みですが、ホスト環境を汚さずビルドしたかったので、Docker内で行おうと思いました。 ただ、ビルドにDokcerを使用する仕組みだったので、Dockerの中でDockerが起動可能な「Docker in Docker」の形で行いました。

vscodeを起動し、左下の「リモートウィンドウを開きます」ボタンから始めます

「Add Development Container Configuration Files...」を選択 image.png

「Show All Definitions...」を選択 image.png

「Docker in Docker」を選択 image.png

これで設定ファイルができました

「Reopen in Container」を選択 image.png

ここから先はコンテナ内での作業になります。

Python Wheelパッケージの作成

公式の手順はこちらです。 https://www.tensorflow.org/lite/guide/build_cmake https://www.tensorflow.org/lite/guide/build_cmake_pip

Docker-in-Docker
cd # 作業は/root配下で行いました
sudo apt-get update
sudo apt-get install cmake -y
git clone https://github.com/tensorflow/tensorflow.git tensorflow_src
cd tensorflow_src/
tensorflow/tools/ci_build/ci_build.sh PI-PYTHON37 tensorflow/lite/tools/pip_package/build_pip_package_with_cmake.sh rpi0 # 最後のrpi0が重要です

これでWheelパッケージが作成されます 出力先はこちらです

Docker-in-Docker
~/tensorflow_src $ ls -l tensorflow/lite/tools/pip_package/gen/tflite_pip/python3.7/dist/
total 2776
-rw-r--r-- 1 vscode vscode 1414958 Jun 6 05:39 tflite_runtime-2.6.0-cp37-cp37m-linux_armv6l.whl
-rw-r--r-- 1 vscode vscode 1422521 Jun 6 05:39 tflite-runtime-2.6.0.linux_armv6l.tar.gz
~/tensorflow_src $

ラズパイZeroにTensorFlow Liteをインストールする

RaspberryPiZero
sudo apt-get update
sudo apt install libatlas-base-dev -y
pip install tflite_runtime-2.6.0-cp37-cp37m-linux_armv6l.whl

· 約4分
moritalous
お知らせ

過去にQiitaに投稿した内容のアーカイブです。

あけましておめでとうございます。

AWS Lambdaがコンテナイメージをサポートしたので、Puppeteerでキャプチャを取るLambdaをつくてみました。

クラスメソッドさんの以下の記事の通りで、ローカルでの実行はうまくいきましたが、Lambdaへのデプロイするとうまく動作しませんでした。(Chromeの起動タイミングでエラー?)

Lambda コンテナイメージで Puppeteer を使ってみた | Developers.IO https://dev.classmethod.jp/articles/try-using-puppeteer-with-a-lambda-container-image/

試行錯誤の結果が、こちらとなります。

ソース

全体はこちらにアップロード済みです。 https://github.com/moritalous/m5core2-yweather/tree/master/lambda

Dockerfile

クラスメソッドさんはGoogle Chromeとpuppeteer-coreの組み合わせでしたが、puppeteer単体で動かしたかったので、インストールするパッケージを変えました。 インストールするパッケージはこちらを参考にしました。 日本語フォントgoogle-noto-sans-japanese-fontsもインストールします。

FROM amazon/aws-lambda-nodejs:12
RUN yum -y install libX11 libXcomposite libXcursor libXdamage libXext libXi libXtst cups-libs libXScrnSaver libXrandr alsa-lib pango atk at-spi2-atk gtk3 google-noto-sans-japanese-fonts
COPY app.js package*.json ./
RUN npm install
CMD [ "app.lambdaHandler" ]

ソースコード

依存ライブラリーはpuppeteersharpです。 sharpは取得したスクリーンショットをリサイズするために追加しました。

package.json
  "dependencies": {
"puppeteer": "^5.5.0",
"sharp": "^0.27.0"
}

puppeteer.launchに指定するargsについて ローカルでの実行の場合は--no-sandbox--disable-setuid-sandboxの指定だけでうまくいきましたが、Lambda上ではエラーになりました。 /tmpディレクトリ以外が読み取り専用だからではないでしょうか?

試行錯誤した結果、こんな感じです。

app.js
const browser = await puppeteer.launch({
headless: true,
args: [
'--no-sandbox',
'--disable-setuid-sandbox',
'-–disable-dev-shm-usage',
'--disable-gpu',
'--no-first-run',
'--no-zygote',
'--single-process',
]
});

キャプチャを撮って、リサイズして、PNGにしました。 API Gateway経由で返却したので、Base64エンコードしてレスポンスにセットします。

app.js
buff = await page.screenshot({
clip: rect
});

buff = await sharp(buff).resize(320, 240).png().toBuffer();

base64 = buff.toString('base64');

await browser.close();

const response = {
statusCode: 200,
headers: {
'Content-Length': Buffer.byteLength(base64),
'Content-Type': 'image/png',
'Content-disposition': 'attachment;filename=weather.png'
},
isBase64Encoded: true,
body: base64
};

ECRへプッシュ

Lambdaのコンテナイメージサポートですが、

  • コンテナレジストリはECRでかつプライベート

ということのようです。

はじめはGitHub Container Registryで試してだめで、次にECRのパブリックで試してだめでした。。

$ aws ecr get-login-password --region ap-northeast-1 | docker login --username AWS --password-stdin [AWSアカウントID].dkr.ecr.ap-northeast-1.amazonaws.com
$ docker build -t [AWSアカウントID].dkr.ecr.ap-northeast-1.amazonaws.com/[リポジトリ名]:latest .
$ docker push [AWSアカウントID].dkr.ecr.ap-northeast-1.amazonaws.com/[リポジトリ名]:latest

Lambdaの作成

基本的にウィザードに従うだけです。

image.png

一点注意ですが、ECRに新しいイメージをプッシュするたびに、Lambdaで使用するイメージを指定し直す必要があります。 sha256ダイジェストの値を見ているようで、latestタグだとしても毎回指定する必要があります。

API Gatewayの作成

Lambdaの画面でトリガーを追加します。かんたんです。 REST APIだと昔はバイナリサポートを有効化するとか色々手順があった気がしますが、何もしなくてもPNGイメージの返却ができました。

image.png

完成

ヤフーの天気をPNG画像にしてみました。

weather.png

· 約4分
moritalous
お知らせ

過去にQiitaに投稿した内容のアーカイブです。

とても便利なFirefox Sendですが、残念ながらサービスの停止が発表されました。

Mozilla、「Firefox Send」の再開を断念 ~無償のファイル送信サービス - 窓の杜 Update on Firefox Send and Firefox Notes - The Mozilla Blog

停止の発表とともにすでにサービス停止済みで https://send.firefox.com/ にアクセスしてもmozillaのトップページに転送されます。

Firefox SendのソースコードはGitHubでオープンソースで公開されていますので、そちらを起動してみましょう。

Docker Composeを使いますが、

We don't recommend using docker-compose for production.

だそうですのでお気をつけください。


よろしければ、ご自由にどうぞ。 https://send.moritalous.tk/


独自ドメイン化とSSLについて以下で続きを書きました。 意外と簡単!EC2上のWebアプリを独自ドメイン化&SSL化

環境

丁度いいタイミングでAWSからt4g.microインスタンスの年内無料トライアルが発表されたため、こちらを使用してみます。

新しい EC2 T4g インスタンス – AWS Graviton2 によるバースト可能なパフォーマンス – 無料で利用可能 | Amazon Web Services ブログ

構築

Docker

sudo amazon-linux-extras install -y docker

sudoなしでdockerコマンドが使えるようになるおまじない

sudo groupadd docker
sudo usermod -aG docker $USER

Dockerサービス起動

sudo systemctl enable docker
sudo systemctl start docker

Docker Compose

ちょっと面倒ですが

sudo yum install -y python3 python3-devel libffi-devel openssl-devel gcc make
sudo pip3 install docker-compose
sudo ln -s /usr/local/bin/docker-compose /usr/bin/

Git

sudo yum install -y git

環境構築は以上です。

アプリケーションデプロイ

ソースの取得

git clone https://github.com/mozilla/send.git

ちなみに2020/09/20時点で、リポジトリはすでにArchived状態になっています。

docker-compose.ymlの修正

2点、変更します。

  • selenium-firefoxの削除
docker-compose.yml
-  selenium-firefox:
- image: b4handjr/selenium-firefox
- ports:
- - "${VNC_PORT:-5900}:5900"
- shm_size: 2g
- volumes:
- - .:/code
  • Firefox Account不要化

このままdocker-composeすると起動はするのですが、ファイルのアップロードが失敗します。結構ハマったのですが、Issueを参考に、Firefox Accountを不要化することで解消します。

docker-compose.yml
     environment:
- REDIS_HOST=redis
+ - FXA_REQUIRED=false

修正後はこんな感じ

docker-compose.yml
version: "3"
services:
web:
build: .
links:
- redis
ports:
- "1443:1443"
environment:
- REDIS_HOST=redis
- FXA_REQUIRED=false
redis:
image: redis:alpine

docker-compose up

Docker Imageのビルドが始まり、しばらくすると起動します。

docker-compose up -d

http://[EC2のパブリックIP]:1443でFirefox Sendが無事起動します。

image.png

ファイルを登録して

image.png

アップロード!!!

image.png

発行されたリンクをクリックしてダウンロードできます。

image.png

自分用にはこれでなんとかなりそうです。

いいサービスだったのに、残念ですねぇ。。

· 約5分
moritalous
お知らせ

過去にQiitaに投稿した内容のアーカイブです。

arm64向けKibanaのコンテナイメージを公開してみました。よければご利用ください。

ghcr.io/moritalous/ghcr/kibana-arm64

arm64向けDockerfile

Kibanaはリリースファイルには、Node.jsの実行バイナリがまるごと含まれており、これがx64向けのものなのでarm64では動きません。 ですので、Node.jsの実行バイナリ(/usr/share/kibana/node以下)をarm64のものに差し替えます。

また、dumb-initもarm64版に変更します。

元にしたのはGitHubで公開されている公式のDockerfileです。

#
## ** THIS IS AN AUTO-GENERATED FILE **
#

################################################################################
## Build stage 0
## Extract Kibana and make various file manipulations.
################################################################################
FROM centos:7 AS prep_files
## Add tar and gzip
RUN yum update -y && yum install -y tar gzip && yum clean all
RUN cd /opt && curl --retry 8 -s -L -O https://artifacts.elastic.co/downloads/kibana/kibana-7.9.1-linux-x86_64.tar.gz && cd -
RUN mkdir /usr/share/kibana
WORKDIR /usr/share/kibana
RUN tar --strip-components=1 -zxf /opt/kibana-7.9.1-linux-x86_64.tar.gz
+
+ RUN cd /opt && curl --retry 8 -s -L -O https://nodejs.org/dist/v10.22.0/node-+v10.22.0-linux-arm64.tar.gz && cd -
+ RUN rm -rf /usr/share/kibana/node
+ RUN mkdir /usr/share/kibana/node
+ RUN cd /usr/share/kibana/node && tar --strip-components=1 -zxf /opt/node-v10.22.0-linux-arm64.tar.gz && cd -

## Ensure that group permissions are the same as user permissions.
## This will help when relying on GID-0 to run Kibana, rather than UID-1000.
## OpenShift does this, for example.
## REF: https://docs.openshift.org/latest/creating_images/guidelines.html
RUN chmod -R g=u /usr/share/kibana
RUN find /usr/share/kibana -type d -exec chmod g+s {} \;

################################################################################
## Build stage 1
## Copy prepared files from the previous stage and complete the image.
################################################################################
FROM centos:7
EXPOSE 5601

## Add Reporting dependencies.
RUN yum update -y && yum install -y fontconfig freetype shadow-utils && yum clean all

## Add an init process, check the checksum to make sure it's a match
- RUN curl -L -o /usr/local/bin/dumb-init https://github.com/Yelp/dumb-init/releases/download/v1.2.2/dumb-init_1.2.2_amd64
- RUN echo "37f2c1f0372a45554f1b89924fbb134fc24c3756efaedf11e07f599494e0eff9 /usr/local/bin/dumb-init" | sha256sum -c -
+ RUN curl -L -o /usr/local/bin/dumb-init https://github.com/Yelp/dumb-init/releases/download/v1.2.2/dumb-init_1.2.2_arm64
+ RUN echo "45b1bbf56cc03edda81e4220535a025bfe3ed6e93562222b9be4471005b3eeb3 /usr/local/bin/dumb-init" | sha256sum -c -
RUN chmod +x /usr/local/bin/dumb-init


## Bring in Kibana from the initial stage.
COPY --from=prep_files --chown=1000:0 /usr/share/kibana /usr/share/kibana
WORKDIR /usr/share/kibana
RUN ln -s /usr/share/kibana /opt/kibana

ENV ELASTIC_CONTAINER true
ENV PATH=/usr/share/kibana/bin:$PATH

## Set some Kibana configuration defaults.
COPY --chown=1000:0 config/kibana.yml /usr/share/kibana/config/kibana.yml

## Add the launcher/wrapper script. It knows how to interpret environment
## variables and translate them to Kibana CLI options.
COPY --chown=1000:0 bin/kibana-docker /usr/local/bin/

## Ensure gid 0 write permissions for OpenShift.
RUN chmod g+ws /usr/share/kibana && find /usr/share/kibana -gid 0 -and -not -perm /g+w -exec chmod g+w {} \;

## Remove the suid bit everywhere to mitigate "Stack Clash"
RUN find / -xdev -perm -4000 -exec chmod u-s {} +

## Provide a non-root user to run the process.
RUN groupadd --gid 1000 kibana && useradd --uid 1000 --gid 1000 --home-dir /usr/share/kibana --no-create-home kibana
USER kibana

LABEL org.label-schema.schema-version="1.0" org.label-schema.vendor="Elastic" org.label-schema.name="kibana" org.label-schema.version="7.9.1" org.label-schema.url="https://www.elastic.co/products/kibana" org.label-schema.vcs-url="https://github.com/elastic/kibana" org.label-schema.license="Elastic License" org.label-schema.usage="https://www.elastic.co/guide/en/kibana/index.html" org.label-schema.build-date="2020-09-01T22:38:56.015Z" license="Elastic License"

ENTRYPOINT ["/usr/local/bin/dumb-init", "--"]

CMD ["/usr/local/bin/kibana-docker"]

ビルドします

docker build -t moritalous/kibana-arm64:7.9.1 .

イメージ確認

$ docker images
REPOSITORY TAG IMAGE ID CREATED SIZE
moritalous/kibana-arm64 7.9.1 96c8b0365e7e About an hour ago 1.29GB
$

GitHub Container Registryに登録する

公式の手順に従います。

ログインして

cat TOKEN.txt | docker login ghcr.io -u [USERNAME] --password-stdin

タグ付けして

docker tag 96c8b0365e7e ghcr.io/moritalous/ghcr/kibana-arm64:7.9.1

プッシュ

docker push ghcr.io/moritalous/ghcr/kibana-arm64

Docker Compose

https://www.elastic.co/guide/en/elastic-stack-get-started/current/get-started-docker.html をほぼそのまま利用します。違うのはKibanaのコンテナイメージがghcr.io/moritalous/ghcr/kibana-arm64:7.9.1となるだけです。

以下の設定も忘れずに。

sysctl -w vm.max_map_count=262144

https://www.elastic.co/guide/en/elasticsearch/reference/current/vm-max-map-count.html