Amplifyを使うと、AWSと連携したWebアプリをとても簡単に作成できます。 AWSのバックエンドをほとんど意識せず、フロントエンドのコーディングに集中できるのがとても嬉しいです。
Amplifyの提供するライブラリーの中にPubSubがありますので、認証機能と合わせて試してみました。
環境
Node.js : v16.18.1
Reactプロジェクトの作成
create-react-appを使用します。
npx -y create-react-app app --template typescript
以下のファイルが作成されます。
app
├── node_modules
├── package.json
├── package-lock.json
├── public
│   ├── favicon.ico
│   ├── index.html
│   ├── logo192.png
│   ├── logo512.png
│   ├── manifest.json
│   └── robots.txt
├── README.md
├── src
│   ├── App.css
│   ├── App.test.tsx
│   ├── App.tsx
│   ├── index.css
│   ├── index.tsx
│   ├── logo.svg
│   ├── react-app-env.d.ts
│   ├── reportWebVitals.ts
│   └── setupTests.ts
└── tsconfig.json

3 directories, 19 files
この状態で起動してみましょう。
cd app
これ以降のコマンドはappディレクトリ内で実行します。
npm start
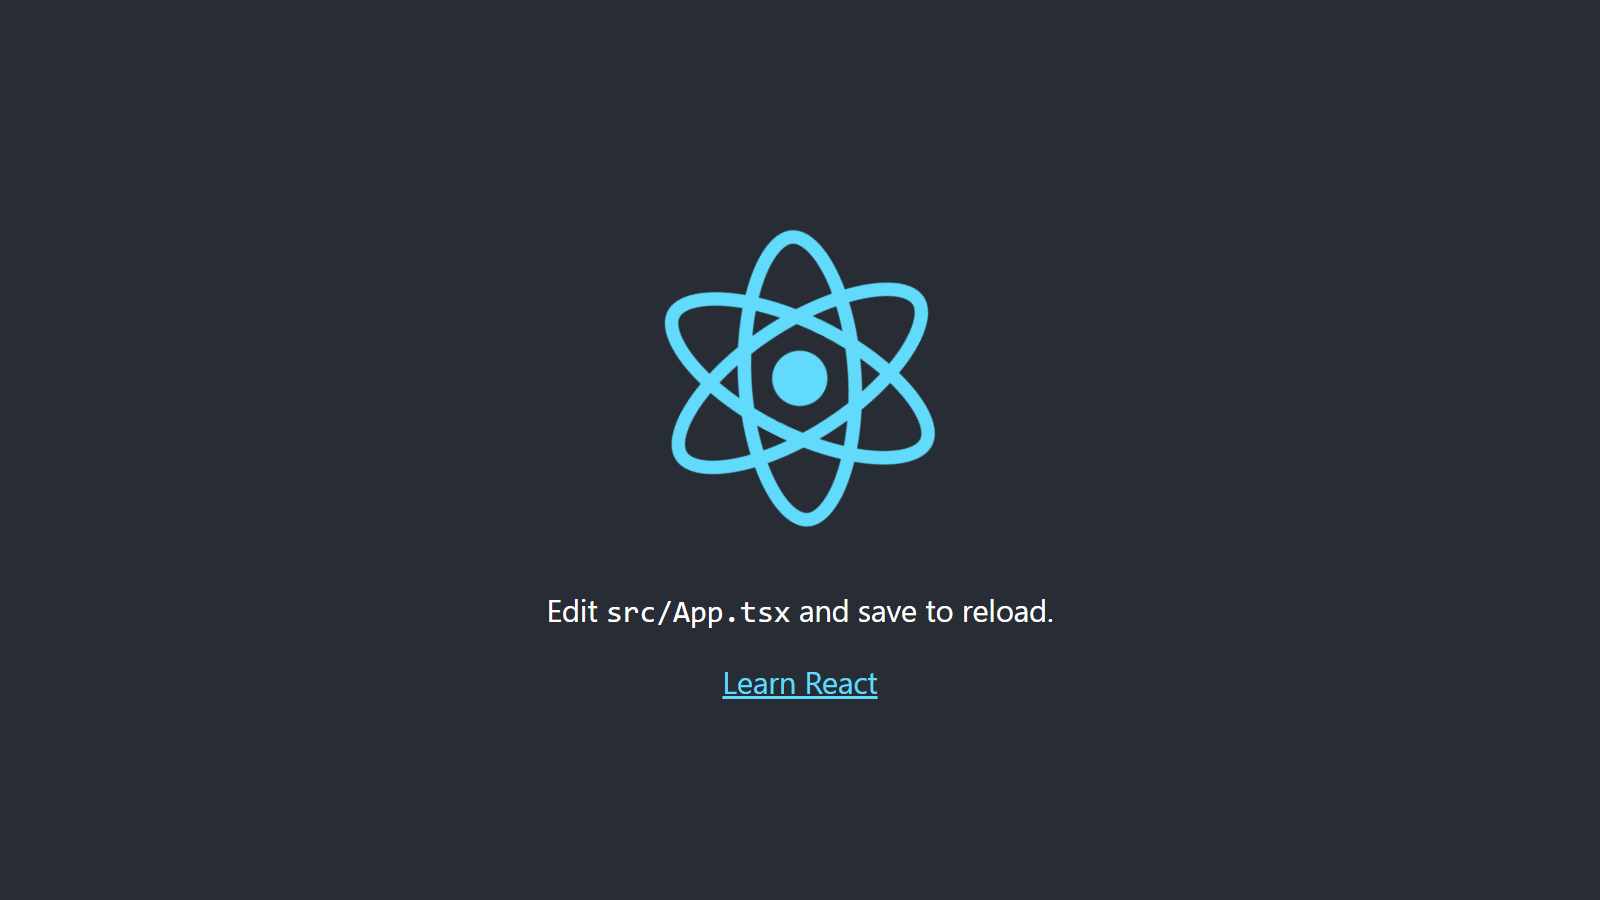
http://localhost:3000/にアクセスすると、サンプル画面が表示されます。

このReactアプリにAmplifyの機能を追加していきます
AWS CLIのインストール
pushd /tmp
curl "https://awscli.amazonaws.com/awscli-exe-linux-x86_64.zip" -o "awscliv2.zip"
unzip awscliv2.zip
sudo ./aws/install
popd
/tmpディレクトリで作業をしたかったので、pushdとpopdを使ってみました。
pushd: pushd [-n] [+N | -N | dir]
    Add directories to stack.
popd: popd [-n] [+N | -N]
    Remove directories from stack.
Amplify CLIのインストール
npm install -g @aws-amplify/cli
Amplifyの初期設定
認証情報の作成
Amplifyで必要な認証情報を作成します。aws configureですでに設定済みであればスキップしても構いません。
amplify configure
ウィザード形式で質問に回答していきます。矢印キーの上下で選択し、エンターキーで決定します。
Specify the AWS Region
→ap-northeast-1を選択
Specify the username of the new IAM user:
→デフォルト値(amplify-J90gl)を選択。
IAMユーザー作成のURLが出力されます。
Complete the user creation using the AWS console
https://console.aws.amazon.com/iam/home?region=ap-northeast-1#/users$new?step=final&accessKey&userNames=amplify-J90gl&permissionType=policies&policies=arn:aws:iam::aws:policy%2FAdministratorAccess-Amplify
Administrator権限でログインし、IAMユーザーを作成します。
AdministratorAccess-Amplifyポリシーが付与されたユーザーを作成します。
作成したユーザーの認証情報をウィザードに入力していきます。
Enter the access key of the newly created user:
→アクセスキー、シークレットアクセスキー、プロファイル名(default)を入力。
Amplifyバックエンドの作成
ウィザードに従ってバックエンドとなるAWSリソースを作成します。
amplify init
- プロジェクト名を指定
? Enter a name for the project (app)
そのままエンター押下
The following configuration will be applied:

Project information
| Name: app
| Environment: dev
| Default editor: Visual Studio Code
| App type: javascript
| Javascript framework: react
| Source Directory Path: src
| Distribution Directory Path: build
| Build Command: npm run-script build
| Start Command: npm run-script start
Reactプロジェクトであることを自動で認識してくれました。
? Initialize the project with the above configuration? (Y/n)
確認だけなので、そのままエンター押下
Using default provider awscloudformation
- 認証情報の選択
? Select the authentication method you want to use: (Use arrow keys)
amplify configureでdefaultプロファイルを作成しているので、AWS profileを選択
? Please choose the profile you want to use (Use arrow keys)
defaultを選択
バックエンドの作成が始まります。CloudFormationを使用して作成されます。
作成されるリソースは以下の通りです。
| 名称 | リソース種別 |
|---|---|
| DeploymentBucket | AWS::S3::Bucket |
| AuthRole | AWS::IAM::Role |
| UnauthRole | AWS::IAM::Role |
| amplify-app-dev-82542 | AWS::CloudFormation::Stack |
作成が完了するとウィザードが進みます。
? Help improve Amplify CLI by sharing non sensitive configurations on failures (y/N) ‣
好きな方を選んでエンター押下。ウィザードを完了させます。
Amplify関連のファイルがamplifyディレクトリに生成されます。
amplify
├── backend
│   ├── amplify-meta.json
│   ├── awscloudformation
│   │   └── build
│   │       └── root-cloudformation-stack.json
│   ├── backend-config.json
│   ├── tags.json
│   └── types
│       └── amplify-dependent-resources-ref.d.ts
├── cli.json
├── #current-cloud-backend
│   ├── amplify-meta.json
│   ├── awscloudformation
│   │   └── build
│   │       └── root-cloudformation-stack.json
│   └── tags.json
├── hooks
│   ├── post-push.sh.sample
│   ├── pre-push.js.sample
│   └── README.md
├── README.md
└── team-provider-info.json

8 directories, 14 files
また、srcディレクトリーにaws-exports.jsファイルが作成されます。
Amplifyライブラリーの追加
React用UIライブラリーも合わせて追加しておきます。
npm install aws-amplify @aws-amplify/ui-react
Reactアプリに認証機能を追加
認証サービスを作成
amplify add auth
- 認証方法の選択
Do you want to use the default authentication and security configuration? (Use arrow keys)
以下の選択肢が表示されます。今回はDefault configurationを指定します。
❯ Default configuration
  Default configuration with Social Provider (Federation)
  Manual configuration
  I want to learn more.
- サインインに使用する情報を指定
How do you want users to be able to sign in? (Use arrow keys)
選択肢は以下。Usernameを選択します。
❯ Username
  Email
  Phone Number
  Email or Phone Number
  I want to learn more.
- 追加設定の有無
Do you want to configure advanced settings? (Use arrow keys)
特に追加設定はしません。
❯ No, I am done.
  Yes, I want to make some additional changes.
以上で認証サービスを作成するために必要な設定が完了しました。 実際のAWSリソースを作成するにはデプロイ操作が必要です。
認証サービスのデプロイ
amplify push
作成されるリソースが表示されます。
✔ Successfully pulled backend environment dev from the cloud.

    Current Environment: dev

┌──────────┬───────────────┬───────────┬───────────────────┐
│ Category │ Resource name │ Operation │ Provider plugin   │
├──────────┼───────────────┼───────────┼───────────────────┤
│ Auth     │ app5b2ed42f   │ Create    │ awscloudformation │
└──────────┴───────────────┴───────────┴───────────────────┘
? Are you sure you want to continue? (Y/n)
確認の上、エンター押下でデプロイを開始します。
デプロイされるAWSリソースはこちらです。
| 名称 | リソース種別 |
|---|---|
| UserPool | AWS::Cognito::UserPool |
| UserPoolClientWeb | AWS::Cognito::UserPoolClient |
| UserPoolClient | AWS::Cognito::UserPoolClient |
| UserPoolClientRole | AWS::IAM::Role |
| UserPoolClientLambda | AWS::Lambda::Function |
| UserPoolClientLambdaPolicy | AWS::IAM::Policy |
| UserPoolClientLogPolicy | AWS::IAM::Policy |
| UserPoolClientInputs | Custom::LambdaCallout |
| IdentityPool | AWS::Cognito::IdentityPool |
| IdentityPoolRoleMap | AWS::Cognito::IdentityPoolRoleAttachment |
ここまででAWSリソースの作成は完了です。
Reactコードの更新
index.tsxにAmplifyライブラリーのインポートを追加
  import React from 'react';
  import ReactDOM from 'react-dom/client';
  import './index.css';
  import App from './App';
  import reportWebVitals from './reportWebVitals';

+ import { Amplify } from 'aws-amplify';
+ import config from './aws-exports';
+ Amplify.configure(config);

  const root = ReactDOM.createRoot(
    document.getElementById('root') as HTMLElement
  );
  root.render(
    <React.StrictMode>
      <App />
    </React.StrictMode>
  );

  // If you want to start measuring performance in your app, pass a function
  // to log results (for example: reportWebVitals(console.log))
  // or send to an analytics endpoint. Learn more: https://bit.ly/CRA-vitals
  reportWebVitals();
App.tsxを更新
Authenticatorで囲む感じにします。
  import React from 'react';
  import logo from './logo.svg';
  import './App.css';

+ import { Authenticator } from '@aws-amplify/ui-react';
+ import "@aws-amplify/ui-react/styles.css";

  function App() {
    return (
+     <Authenticator>
+       {({ signOut, user }) => (
          <div className="App">
            <header className="App-header">
              <img src={logo} className="App-logo" alt="logo" />
              <p>
                Edit <code>src/App.tsx</code> and save to reload.
              </p>
              <a
                className="App-link"
                href="https://reactjs.org"
                target="_blank"
                rel="noopener noreferrer"
              >
                Learn React
              </a>
            </header>
          </div>
+       )}
+     </Authenticator>
    );
  }

  export default App;
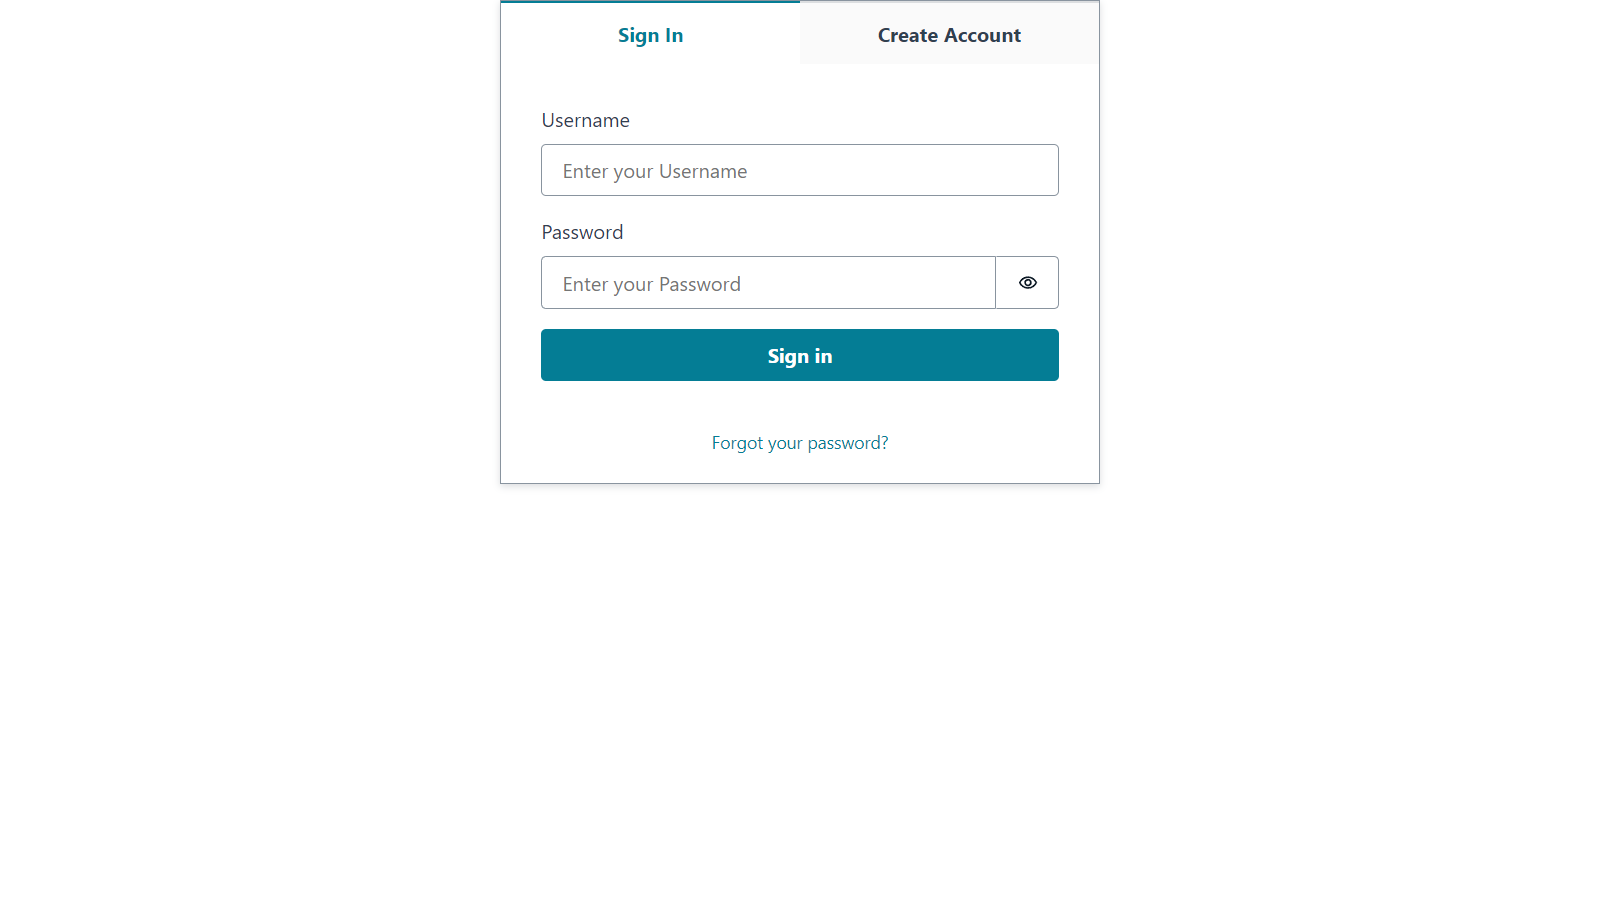
これで未ログインの場合にログイン画面に遷移するようになります。

Create Accountタブでユーザーの新規作成ができます。
ログアウト機能はsignOutを使用し、<button onClick={signOut}>Sign out</button>のようにすることで実現できます。
userはuser!.usernameのように使用できます。
ReactアプリにPubSub機能を追加
続いてPubSub機能を追加します。PubSubはIoT Coreをバックエンドとして使用します。
IoT Coreは特にプロビジョニングをせずに使用できるため、バックエンド側の作成手順はありません。
IAM権限の追加
Amplifyの認証機能でログインした後は、Cognito IDプールの認証されたロールに設定されたIAMロールの権限が付与されます。
Amplifyで作成したCognito IDプールのIDプールIDはaws-exports.jsのaws_cognito_identity_pool_idで確認できます。
- 認証されたロールのARNを取得
AWS CLIで確認する方法
aws cognito-identity get-identity-pool-roles \
    --identity-pool-id ${IDプールID}
{
    "IdentityPoolId": "ap-northeast-1:51bbdec3-5e22-4e89-ad00-194af4899c19",
    "Roles": {
        "authenticated": "arn:aws:iam::123456789012:role/amplify-app-dev-82542-authRole",
        "unauthenticated": "arn:aws:iam::123456789012:role/amplify-app-dev-82542-unauthRole"
    }
}
Roles.authenticatedが認証後のIAMロールのARNです。
jqを使うとARNのみを取得できます。
aws cognito-identity get-identity-pool-roles \
    --identity-pool-id ${IDプールID} \
| jq -r .Roles.authenticated
- 認証されたロールにIoT Coreの権限を付与
AWS管理ポリシーのAWSIoTDataAccessとAWSIoTConfigAccessを付与します。
aws iam attach-role-policy \
    --role-name ${IAMロール名} \
    --policy-arn arn:aws:iam::aws:policy/AWSIoTDataAccess

aws iam attach-role-policy \
    --role-name ${IAMロール名} \
    --policy-arn arn:aws:iam::aws:policy/AWSIoTConfigAccess
IoTポリシーの作成とIDプールとの関連付け
IoT Coreへの接続してPubSubを行う場合はIoTポリシーの制御も受けるため、IoTポリシーを作成し、IdentityIDとの関連付けを行う必要があります。
とてもややこしいですが、Cognitoフェデレーティッド IDの中に
- アイデンティティ
- アイデンティティプール
が存在します。(さらに、Cognito User Poolも存在します。) 違いは把握しきれていませんが、IoTポリシーと紐づけが必要なのは、Cognitoフェデレーティッド IDのアイデンティティIDです。
- ポリシードキュメント
{
    "Version": "2012-10-17",
    "Statement": [
        {
            "Effect": "Allow",
            "Action": [
                "iot:*"
            ],
            "Resource": [
                "arn:aws:iot:ap-northeast-1:123456789012:*"
            ]
        }
    ]
}
- IoTポリシーの作成
aws iot create-policy \
    --policy-name PubSubAmplify \
    --policy-document file://policy.json
- アイデンティティIDとの関連付け
aws iot attach-policy \
    --policy-name PubSubAmplify \
    --target ${アイデンティティID}
アイデンティティIDの取得はこちら
aws cognito-identity list-identities \
    --identity-pool-id ${IDプールID} \
    --max-results 1 \
| jq -r .Identities[0].IdentityId
Reactコードの更新
App.tsxにPubSub関連の設定を行います。
import { Amplify, PubSub } from 'aws-amplify';
import { AWSIoTProvider } from '@aws-amplify/pubsub';

Amplify.addPluggable(
  new AWSIoTProvider({
    aws_pubsub_region: 'ap-northeast-1',
    aws_pubsub_endpoint:
      'wss://${IoT Coreエンドポイント}/mqtt'
  })
);
IoT Coreエンドポイントはaws iot describe-endpoint --endpoint-type iot:Data-ATSで取得できます。
- Subscribe
PubSub.subscribe('myTopic').subscribe({
    next: data => console.log('Message received', data),
    error: error => console.error(error),
    complete: () => console.log('Done'),
});
| イベント | 内容 |
|---|---|
| next | トピックに対するメッセージが正常に受信されるたびに呼び出される |
| error | Subscribeに失敗したとき呼び出される |
| complete | Subsceibeを終了した際に呼び出される |
- Publish
await PubSub.publish('myTopic1', { msg: 'Hello to all subscribers!' });
サンプルプログラム
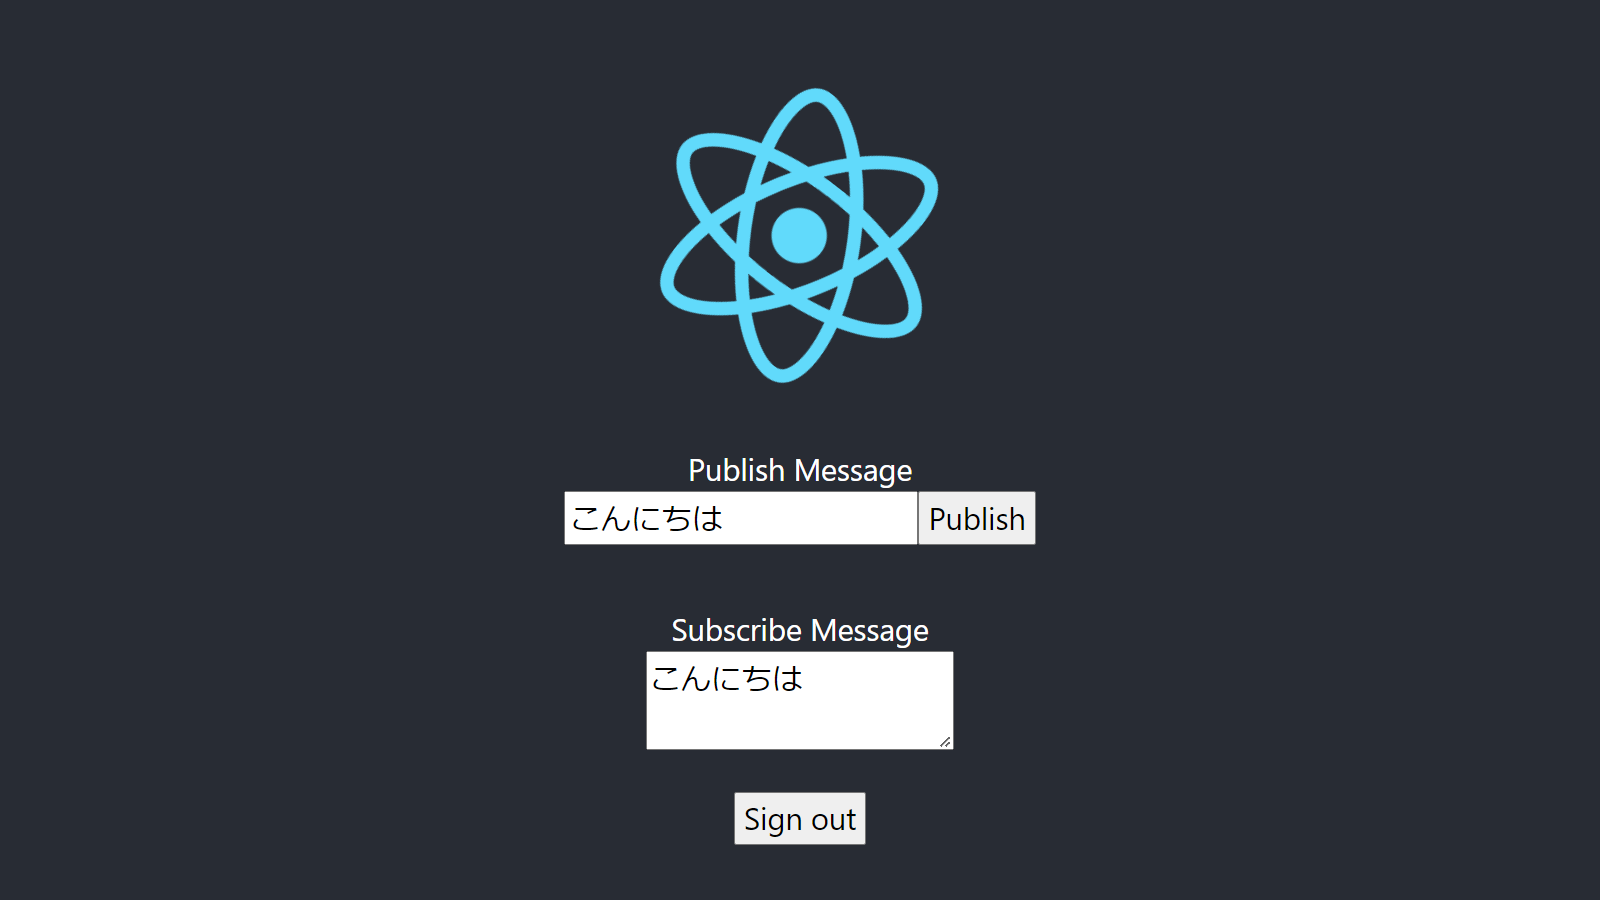
自分でPubしたメッセージをSubして表示するアプリを作ってみました。
import logo from './logo.svg';
import './App.css';

import { Authenticator } from '@aws-amplify/ui-react';
import "@aws-amplify/ui-react/styles.css";

import { Amplify, PubSub } from 'aws-amplify';
import { AWSIoTProvider } from '@aws-amplify/pubsub';
import { useEffect, useState } from 'react';

Amplify.addPluggable(
  new AWSIoTProvider({
    aws_pubsub_region: 'ap-northeast-1',
    aws_pubsub_endpoint:
      'wss://xxxxxxxxxxxxxx-ats.iot.ap-northeast-1.amazonaws.com/mqtt'
  })
);

function App() {

  const [pubMessage, setPubMessage] = useState('')
  const [subMessage, setSubMessage] = useState('')

  useEffect(() => {
    PubSub.subscribe('myTopic').subscribe({
      next: (data) => {
        console.log('Message received', data)
        setSubMessage(data.value.msg)
      },
      error: error => console.error(error),
      complete: () => console.log('Done'),
    });
  }, [])

  function publish() {
    PubSub.publish('myTopic', { msg: pubMessage });
  }

  return (
    <Authenticator>
      {({ signOut, user }) => (
        <div className="App">
          <header className="App-header">
            <img src={logo} className="App-logo" alt="logo" />

            <p>
              Publish Message<br />
              <input type='text' value={pubMessage} onChange={(event) => setPubMessage(event.target.value)}></input>
              <button onClick={publish}>Publish</button>
            </p>
            <p>
              Subscribe Message<br />
              <textarea value={subMessage} readOnly></textarea>
            </p>

            <button onClick={signOut}>Sign out</button>
          </header>
        </div>
      )}
    </Authenticator>
  );
}

export default App;

まとめ
PubSubを実現するサンプルアプリの作成ができました。 一部、Amplify CLIだけでは操作ができず、AWS CLIでの操作も必要となりますので、AWSの知識がないと難しいなと感じました。