メインコンテンツまでスキップ

「AWS」タグの記事が97件件あります

全てのタグを見る

· 約4分
moritalous
お知らせ

過去にQiitaに投稿した内容のアーカイブです。

linebot-serverless-blueprint-javaを作った!で紹介したLINE BOTの雛形の作り方を何回かに分けて紹介します。

環境

  • Windows 10
  • Node: v6.9.1
  • npm: 3.10.8
  • Git for Windows: 2.9.3.windows.2
  • Java 8
  • AWSアカウント(AdministratorAccess権限)
    ※rootアカウントはやめましょう

前準備~serverlessの導入

プロジェクト用フォルダーの作成

mkdir linebot-serverless-blueprint-java
cd linebot-serverless-blueprint-java

package.jsonの作成

npm init -y
package.json
{
"name": "linebot-serverless-blueprint-java",
"version": "1.0.0",
"description": "",
"main": "index.js",
"scripts": {
"test": "echo \"Error: no test specified\" && exit 1"
},
"keywords": [],
"author": "",
"license": "ISC"
}

serverlessのインストール

npm install serverless --save-dev

"devDependencies"が追加されます。

package.json
{
"name": "linebot-serverless-blueprint-java",
"version": "1.0.0",
"description": "",
"main": "index.js",
"scripts": {
"test": "echo \"Error: no test specified\" && exit 1"
},
"keywords": [],
"author": "",
"license": "ISC",
"devDependencies": {
"serverless": "^1.8.0"
}
}

serverlessプロジェクトの作成

node_modules\.bin\serverless create -t aws-java-gradle

なぜかgradle\wrapper\gradle-wrapper.jarが作成されませんので、個別にダウンロードします。 https://github.com/serverless/serverless/blob/master/lib/plugins/create/templates/aws-java-gradle/gradle/wrapper/gradle-wrapper.jar こんな感じになります。

C:.
│ .npmignore
│ build.gradle
│ gradlew
│ gradlew.bat
│ package.json
│ serverless.yml

├─gradle
│ └─wrapper
│ gradle-wrapper.jar
│ gradle-wrapper.properties

├─node_modules
~~~省略~~~

└─src
└─main
├─java
│ └─com
│ └─serverless
│ ApiGatewayResponse.java
│ Handler.java
│ Response.java

└─resources
log4j.properties

Javaプロジェクトのフォルダー構成の変更

今回はJavaプロジェクトを2つ用意しますので、フォルダー構成を変更します。

srcフォルダーとbuild.gradleをサブフォルダー内に移動

mkdir webhook
move src webhook\
1 個のディレクトリを移動しました。
move build.gradle webhook\
1 個のファイルを移動しました。

もう一つのJavaプロジェクト用ファイルもコピーして作成

xcopy /E /I webhook reply
webhook\build.gradle
webhook\src\main\java\com\serverless\ApiGatewayResponse.java
webhook\src\main\java\com\serverless\Handler.java
webhook\src\main\java\com\serverless\Response.java
webhook\src\main\resources\log4j.properties
5 個のファイルをコピーしました

settings.gradleファイルの作成

type nul > settings.gradle
settings.gradle
include 'webhook','reply'

Gradle動作確認

gradlew projects
------------------------------------------------------------
Root project
------------------------------------------------------------

Root project 'linebot-serverless-blueprint-java'
+--- Project ':reply'
\--- Project ':webhook'

To see a list of the tasks of a project, run gradlew <project-path>:tasks
For example, try running gradlew :reply:tasks

BUILD SUCCESSFUL

Total time: 7.01 secs

build.gradleファイルの修正

webhook/build.gradleを少し修正します。reply/build.gradleも同様(baseNameはreply)に修正します。

webhook/build.gradle
apply plugin: 'java'

repositories {
mavenCentral()
}

sourceCompatibility = 1.8
targetCompatibility = 1.8

+tasks.withType(AbstractCompile)*.options*.encoding = tasks.withType(GroovyCompile)*.groovyOptions*.encoding = 'UTF-8'

dependencies {
compile (
'com.amazonaws:aws-lambda-java-core:1.1.0',
'com.amazonaws:aws-lambda-java-log4j:1.0.0',
+ 'com.amazonaws:aws-java-sdk-dynamodb:1.11.98',
+ 'com.linecorp.bot:line-bot-api-client:1.6.0',
)
testCompile 'junit:junit:4.12'
}

// Task for building the zip file for upload
task buildZip(type: Zip) {
// Using the Zip API from gradle to build a zip file of all the dependencies
//
// The path to this zip file can be set in the serverless.yml file for the
// package/artifact setting for deployment to the S3 bucket
//
// Link: https://docs.gradle.org/current/dsl/org.gradle.api.tasks.bundling.Zip.html

// set the base name of the zip file
- baseName = "hello"
+ baseName = "webhook"
from compileJava
from processResources
into('lib') {
from configurations.runtime
}
}

build.dependsOn buildZip

以上で下準備は完了です。 次回はServerlessの設定やJavaプログラムについての解説を行いたいと思います。

· 約5分
moritalous
お知らせ

過去にQiitaに投稿した内容のアーカイブです。

LINE BOT AWARDSの受付は終わってしまいましたが、簡単にLINE BOTを作成する雛形を作り、恐れ多くも linebot-serverless-blueprint-java と名付けました。 どうやって作ったかは別の機会に説明したいと思います。 今回は、使い方を解説します。

構築イメージ

LINE BOT.png

以下の投稿を参考にしました。というか、そのままです。 大量メッセージが来ても安心なLINE BOTサーバのアーキテクチャ LINE Bot を AWSを使ってシステム構築してみた。

環境

  • Windows 10

  • Node: v6.9.1

  • npm: 3.10.8

  • Git for Windows: 2.9.3.windows.2

  • Java 8

  • AWSアカウント(AdministratorAccess権限)
    ※rootアカウントはやめましょう

LINE BOTアカウントの作成

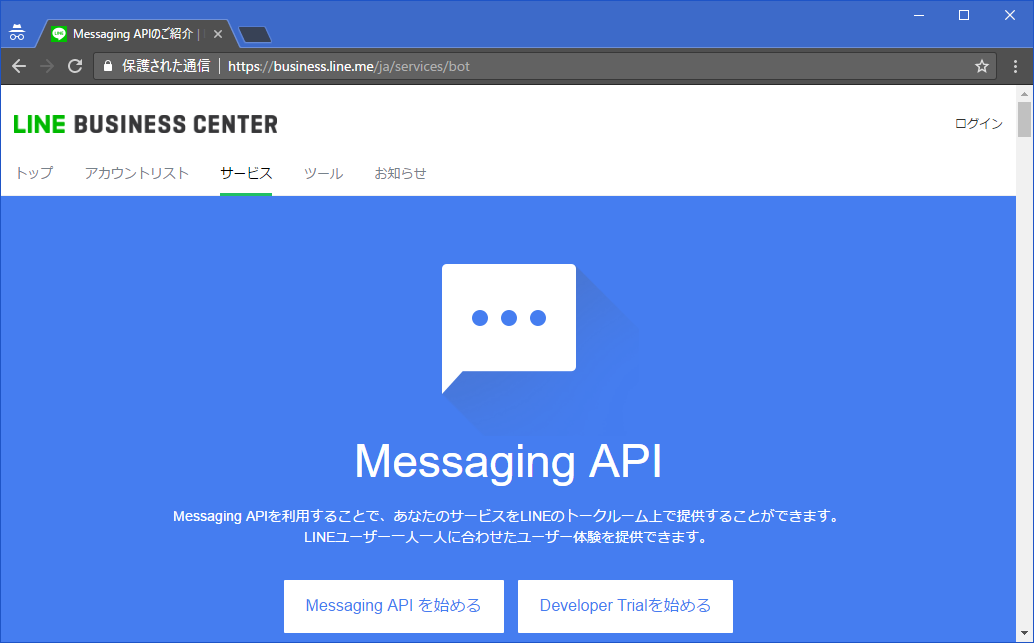
https://business.line.me/ja/services/bot

image

「Developer Trialを始める」からアカウントを作成します。 登録した後で、設定をいくつか変更した気がしますが忘れました。。

ソースの取得からserverlessの設定まで

ソースの取得

git clone https://github.com/moritalous/linebot-serverless-blueprint-java.git

serverlessのインストール

cd linebot-serverless-blueprint-java
npm install

これで serverless コマンドが使えるようになりました。 ただし、グローバルインストールではないので、node_modules\.bin\serverless で指定する必要があります。

serverlessのアカウント設定

AdministratorAccess権限を持ったAWSアカウントのアクセスキーとシークレットキーを設定します。

node_modules\.bin\serverless config credentials --provider aws --key [AWS Access key ID] --secret [AWS Secret access key] -n serverless

-n オプションは作成するプロファイルの名前です。指定がない場合は default になるようです。

https://serverless.com/framework/docs/providers/aws/cli-reference/config-credentials/

プロファイルの名前をserverlessから変更する場合は、serverless.ymlのprofileの部分を変更して下さい。

serverless.yml
provider:
name: aws
runtime: java8
profile: serverless

環境変数の設定

LINE BOTのChannel SecretChannel Access Tokenは環境変数に設定するようにしてありますのでそれぞれ以下のキーで設定して下さい。

  • CHANNEL_SECRET
  • CHANNEL_ACCESS_TOKEN

デプロイから動作確認

デプロイ

npm run deploy

これだけです。以下のものが全て一発でセットアップされます。

  • API Gateway
  • Lambda x2
  • DynamoDB

AWSのコンソールにログインする必要があるのは、AdministratorAccess権限を持ったAWSアカウントを作るとこだけです。

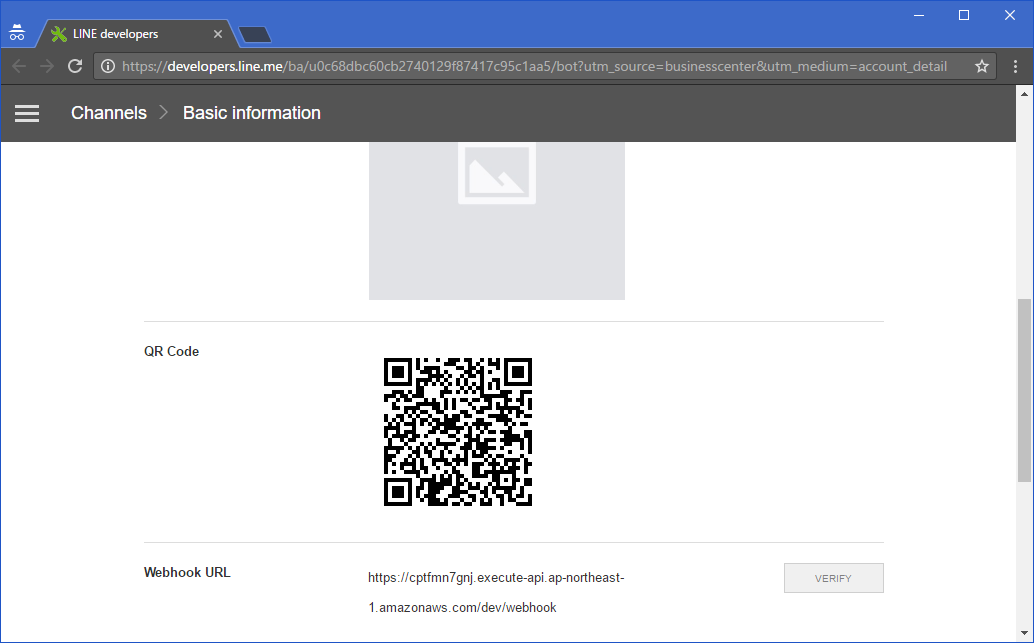
Webhook URLの指定

デプロイした際のコンソールログに出力されるendpointsのURLをLINEのWebhook設定に指定します。

image

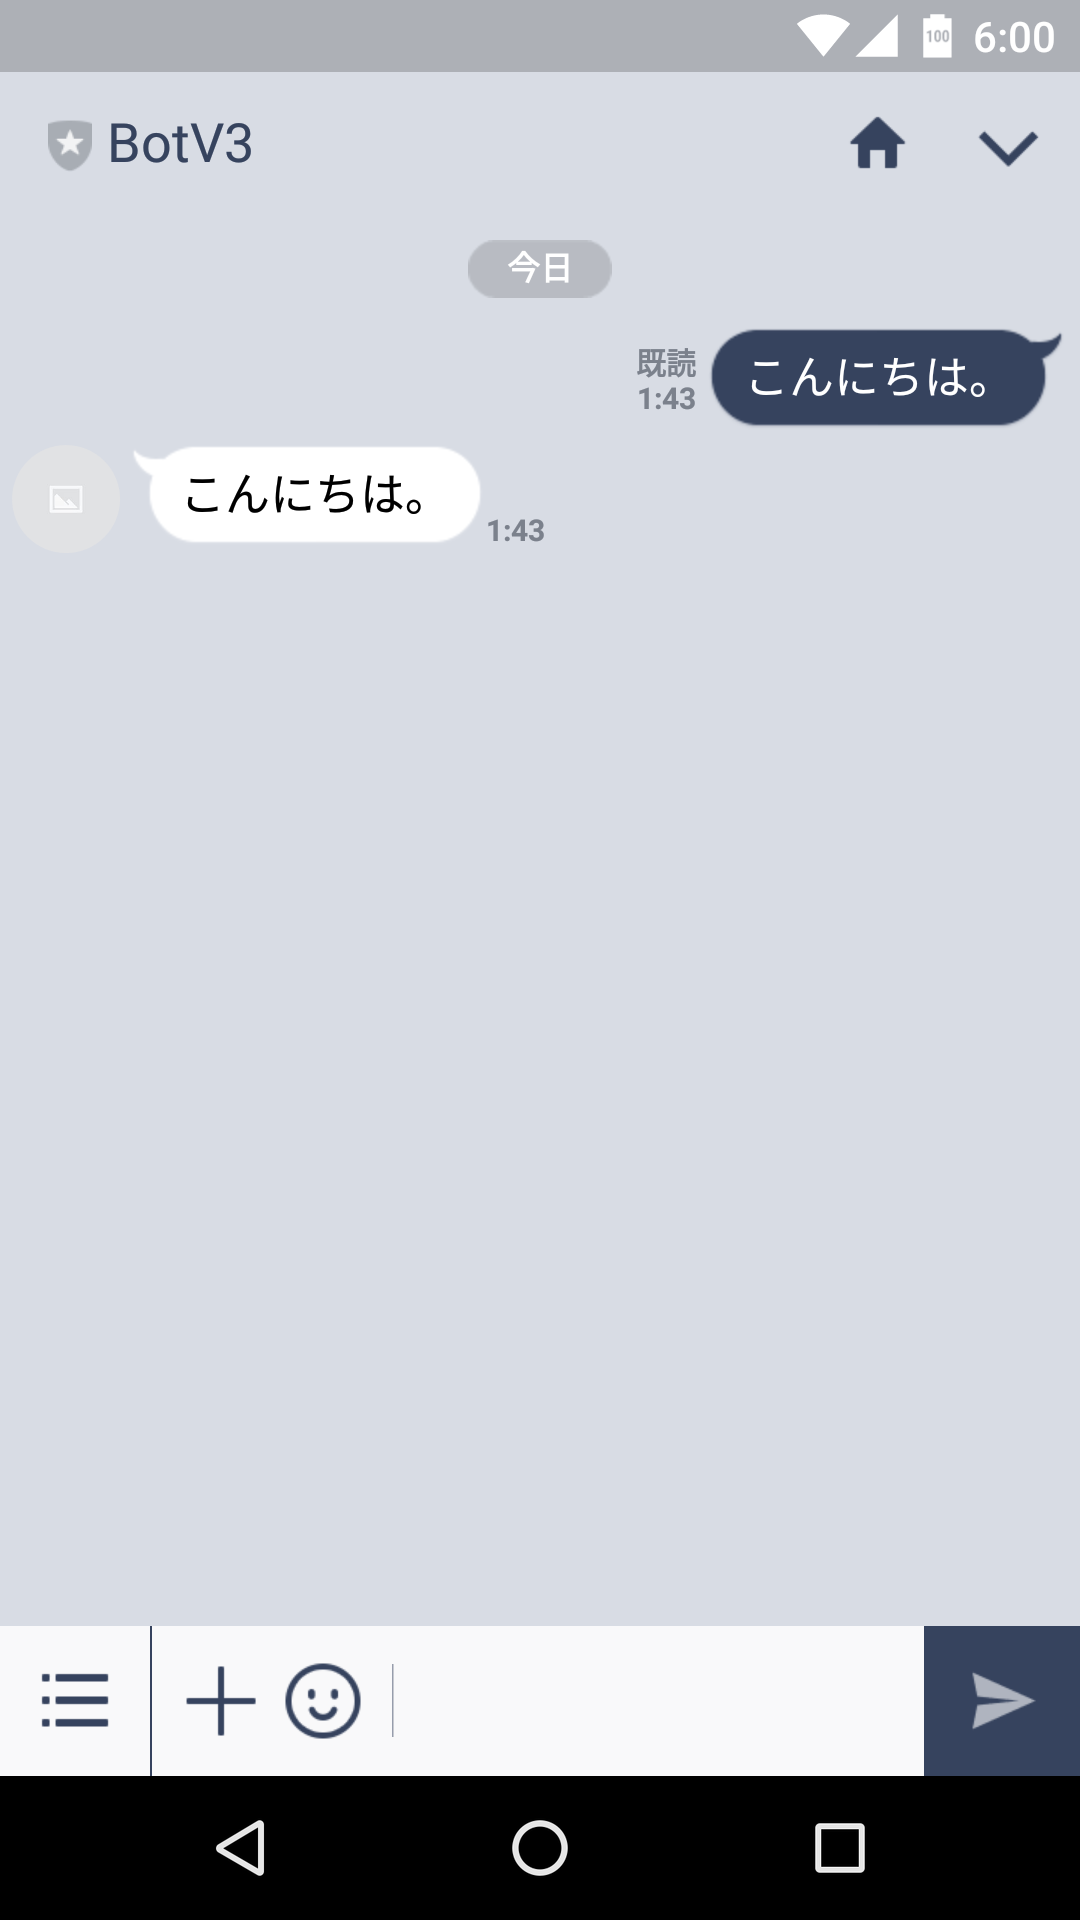
動作確認

gitのソースの状態では、テキストメッセージをオウム返しするようにしてあります。

Screenshot_20170308-014317.png

カスタマイズ方法

reply プロジェクトがDynamoDBからのイベントを受け取ってからの処理部分です。Handlerクラスのreplyメソッドを起点としてカスタマイズして下さい。CallbackRequestクラスは公式のSDK(Java SDK for Messaging API BOT)で提供されているクラスです。簡単でしょ。

ちなみにオウム返しのソースはこんな感じです。

Handler.java
    /***
* Messaging APIリクエストを受けて、Reply messageの送信などを行います。
* @param callbackRequest Messaging APIリクエスト内容
*/
private void reply(CallbackRequest callbackRequest) {
callbackRequest.getEvents().forEach(e -> {

if (e instanceof MessageEvent) {
MessageEvent<MessageContent> messageEvent = (MessageEvent<MessageContent>) e;
String replyToken = messageEvent.getReplyToken();
MessageContent content = messageEvent.getMessage();

if (content instanceof TextMessageContent) {
String message = ((TextMessageContent) content).getText();

LineMessagingService client = LineMessagingServiceBuilder.create(CHANNEL_ACCESS_TOKEN).build();

List<Message> replyMessages = new ArrayList<>();
replyMessages.add(new TextMessage(message));

try {
Response<BotApiResponse> response = client.replyMessage(new ReplyMessage(replyToken, replyMessages)).execute();
if (response.isSuccessful()) {
LOG.info(response.message());
} else {
LOG.warn(response.errorBody().string());
}
} catch (IOException e1) {
LOG.error(e1);
}
}
if (content instanceof ImageMessageContent) {
}
if (content instanceof LocationMessageContent) {
}
if (content instanceof AudioMessageContent) {
}
if (content instanceof VideoMessageContent) {
}
if (content instanceof StickerMessageContent) {
}
if (content instanceof FileMessageContent) {
} else {
}
} else if (e instanceof UnfollowEvent) {
} else if (e instanceof FollowEvent) {
} else if (e instanceof JoinEvent) {
} else if (e instanceof LeaveEvent) {
} else if (e instanceof PostbackEvent) {
} else if (e instanceof BeaconEvent) {
} else {
}
});
}

ソースはこちらです。 https://github.com/moritalous/linebot-serverless-blueprint-java

参考サイト

http://qiita.com/yoichiro6642/items/6d4c7309210af20a5c8f http://qiita.com/hiyuzawa/items/10e7bf2f6ad5d1c7fc9c http://qiita.com/abtc/items/d1aa34ee7684d0c47d07