3. Cognito User Pool認証に変更
IAM認証のAPIをCognito User Pool認証に変更します。
API Gatewayの設定を上書き
APIのデフォルト設定を上書きします。
shell
amplify override api
amplify/backend/api/apib4e3de0f/override.tsなどのファイルが生成されます。
amplify/backend/api/apib4e3de0f/override.ts
// This file is used to override the REST API resources configuration
import { AmplifyApiRestResourceStackTemplate } from '@aws-amplify/cli-extensibility-helper';

export function override(resources: AmplifyApiRestResourceStackTemplate) {

}
以下の処理を追加します。
- User PoolのARNをCloud Formationテンプレートのパラメーターに追加
- OpenAPI拡張の書式を使用してオーソライザーを追加
- APIのすべてのパスにCognitoオーソライザーを適用
authResourceNameはauthリソースのフォルダー名に置き換えます。
注記
amplify/backend/auth/amplifyvitereactv244ad4f7eの場合はamplifyvitereactv244ad4f7eとなります
amplify/backend/api/apib4e3de0f/override.ts
// This file is used to override the REST API resources configuration
import { AmplifyApiRestResourceStackTemplate } from '@aws-amplify/cli-extensibility-helper';

export function override(resources: AmplifyApiRestResourceStackTemplate) {

  // Replace the following with your Auth resource name
  const authResourceName = "<your-auth-resource-name>";
  const userPoolArnParameter = "AuthCognitoUserPoolArn";

  // Add a parameter to your Cloud Formation Template for the User Pool's ID
  resources.addCfnParameter({
    type: "String",
    description: "The ARN of an existing Cognito User Pool to authorize requests",
    default: "NONE",
  },
    userPoolArnParameter,
    { "Fn::GetAtt": [`auth${authResourceName}`, "Outputs.UserPoolArn"], }
  );

  // Create the authorizer using the AuthCognitoUserPoolArn parameter defined above
  resources.restApi.addPropertyOverride("Body.securityDefinitions", {
    Cognito: {
      type: "apiKey",
      name: "Authorization",
      in: "header",
      "x-amazon-apigateway-authtype": "cognito_user_pools",
      "x-amazon-apigateway-authorizer": {
        type: "cognito_user_pools",
        providerARNs: [
          {
            'Fn::Join': ['', [{ Ref: userPoolArnParameter }]],
          },
        ],
      },
    },
  });

  // For every path in your REST API
  for (const path in resources.restApi.body.paths) {
    // Add the Authorization header as a parameter to requests
    resources.restApi.addPropertyOverride(
      `Body.paths.${path}.x-amazon-apigateway-any-method.parameters`,
      [
        ...resources.restApi.body.paths[path]["x-amazon-apigateway-any-method"]
          .parameters,
        {
          name: "Authorization",
          in: "header",
          required: false,
          type: "string",
        },
      ]
    );
    // Use your new Cognito User Pool authorizer for security
    resources.restApi.addPropertyOverride(
      `Body.paths.${path}.x-amazon-apigateway-any-method.security`,
      [{ Cognito: [], },]
    );
  }

}
API Gatewayの設定は以上です。
Pushします。
shell
amplify push
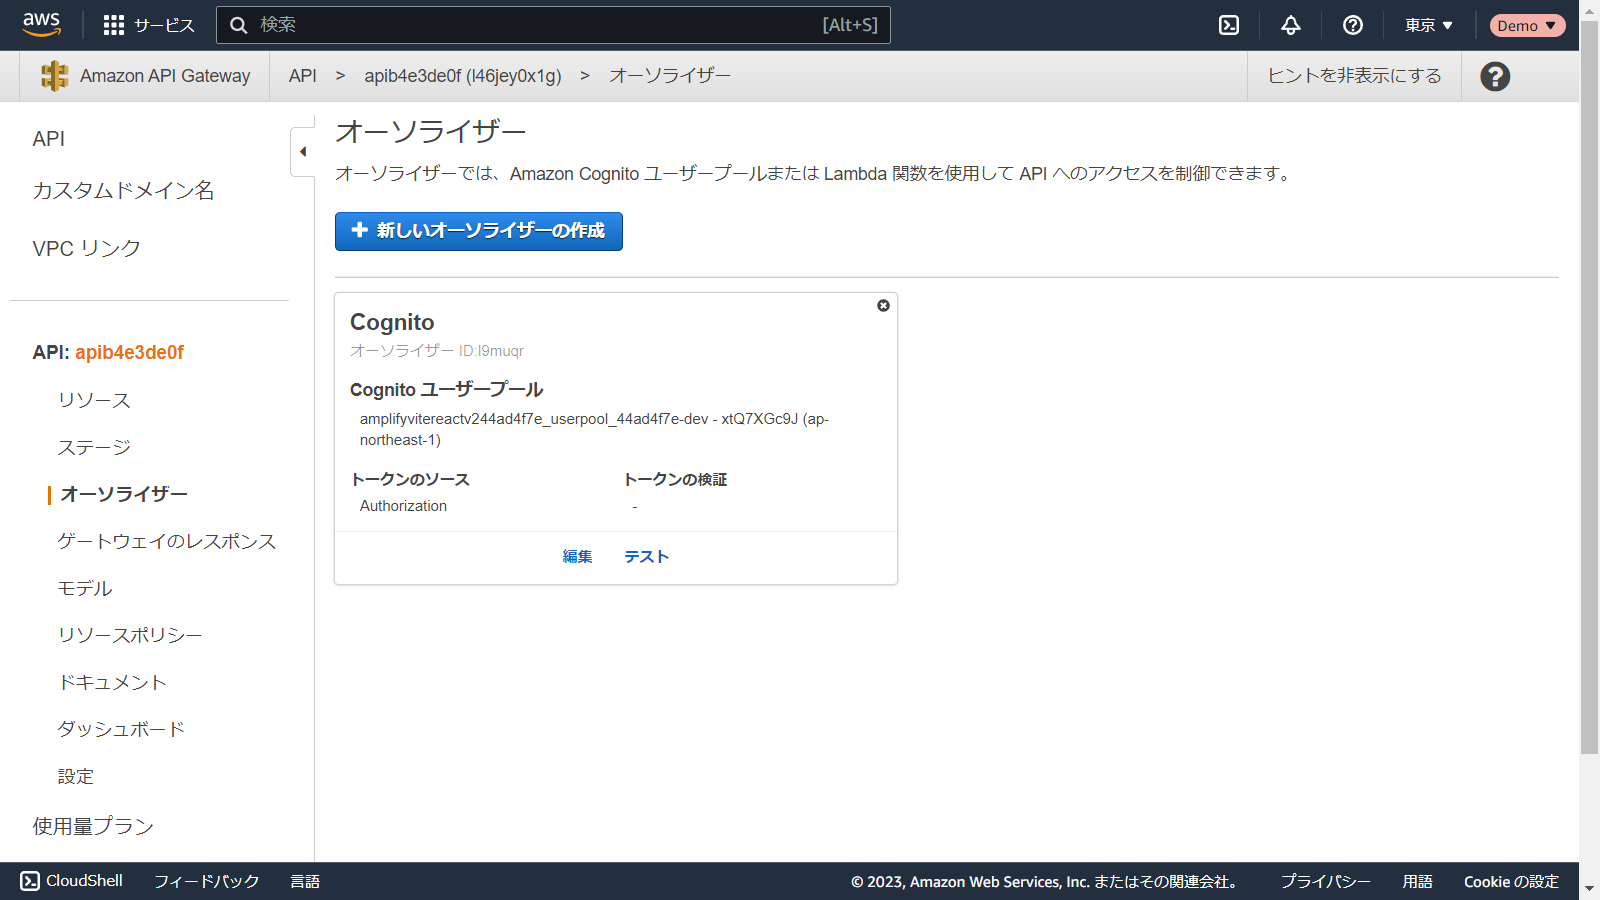
- オーソライザーが作成されていることを確認

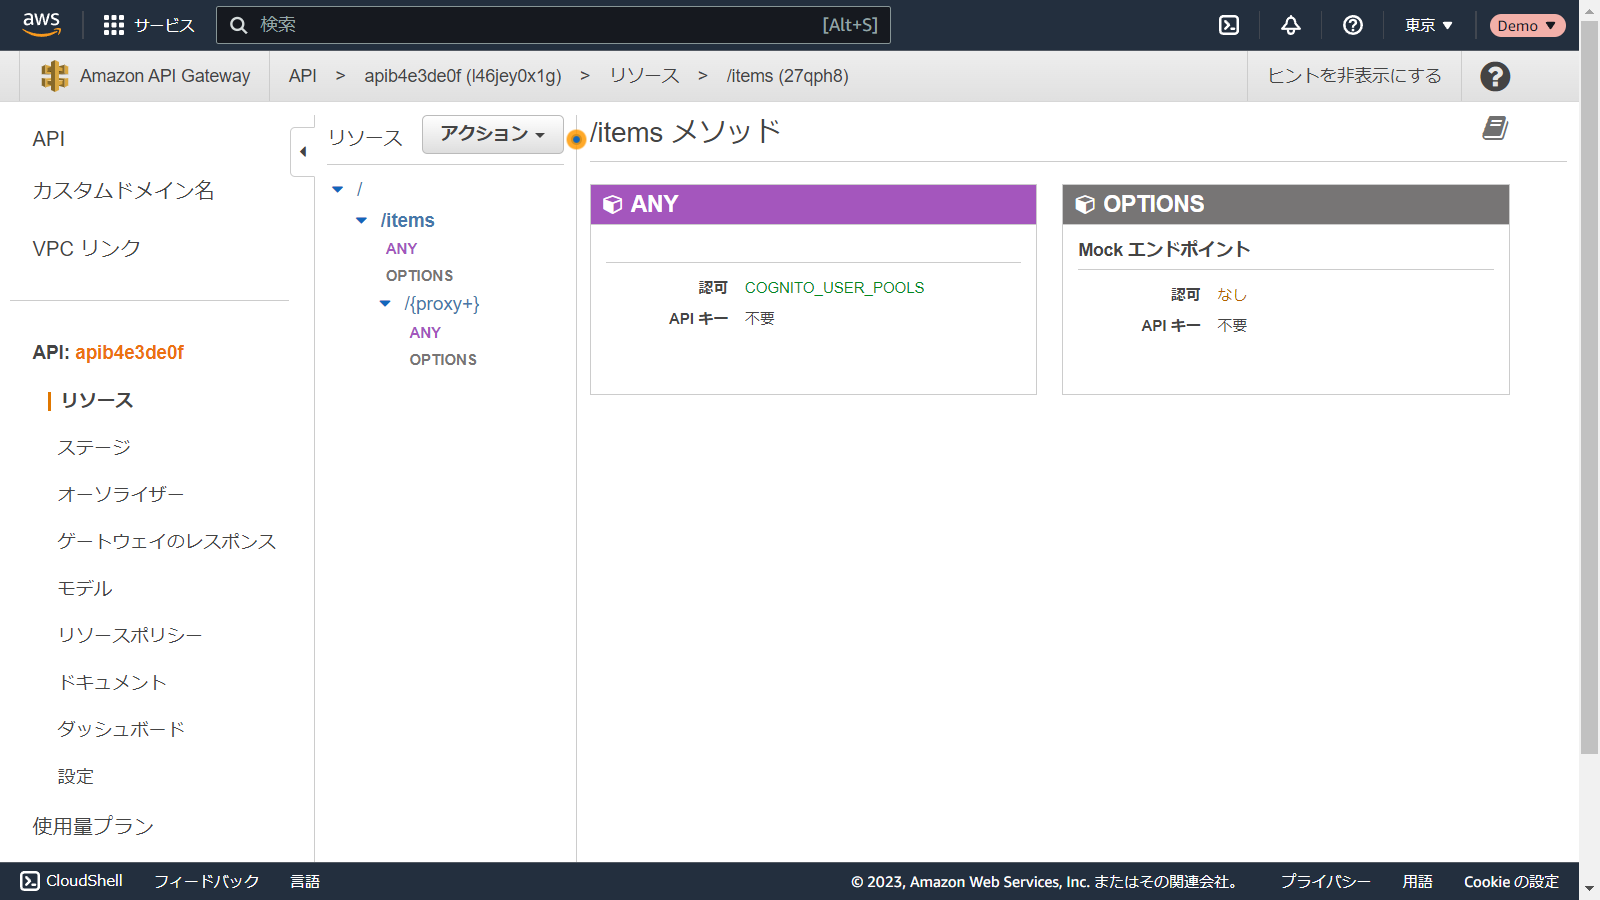
- APIのパスの認可設定が
COGNITO_USER_POOLSになっていることを確認

フロントエンド側の修正
修正する前のIAM認証の方法でAPI呼び出しを行うと、当然ながら401エラーとなります。
AuthorizationヘッダーにIDトークンをセットするように呼び出し方を変更します。
src/App.tsx
import { useState } from 'react';

import { API, Auth } from 'aws-amplify';

import { Authenticator, Button, Card, TextAreaField } from '@aws-amplify/ui-react';
import '@aws-amplify/ui-react/styles.css';

function App() {

  const [message, setMessage] = useState('')

  async function callApi() {
    const response = await API.get('apib4e3de0f', '/items', {
      headers: {
        Authorization: `Bearer ${(await Auth.currentSession())
          .getIdToken()
          .getJwtToken()}`
      }
    })
    setMessage(response)

  }
  return (
    <Authenticator>
      {({ signOut, user }) => (
        <main>
          <h1>Hello {user!.username}</h1>
          <button onClick={signOut}>Sign out</button>

          <Card variation='outlined'>
            <Button onClick={callApi}>Call API</Button>
            <TextAreaField label='response' value={message} readOnly></TextAreaField>
          </Card>
        </main>
      )}
    </Authenticator>
  )
}

export default App
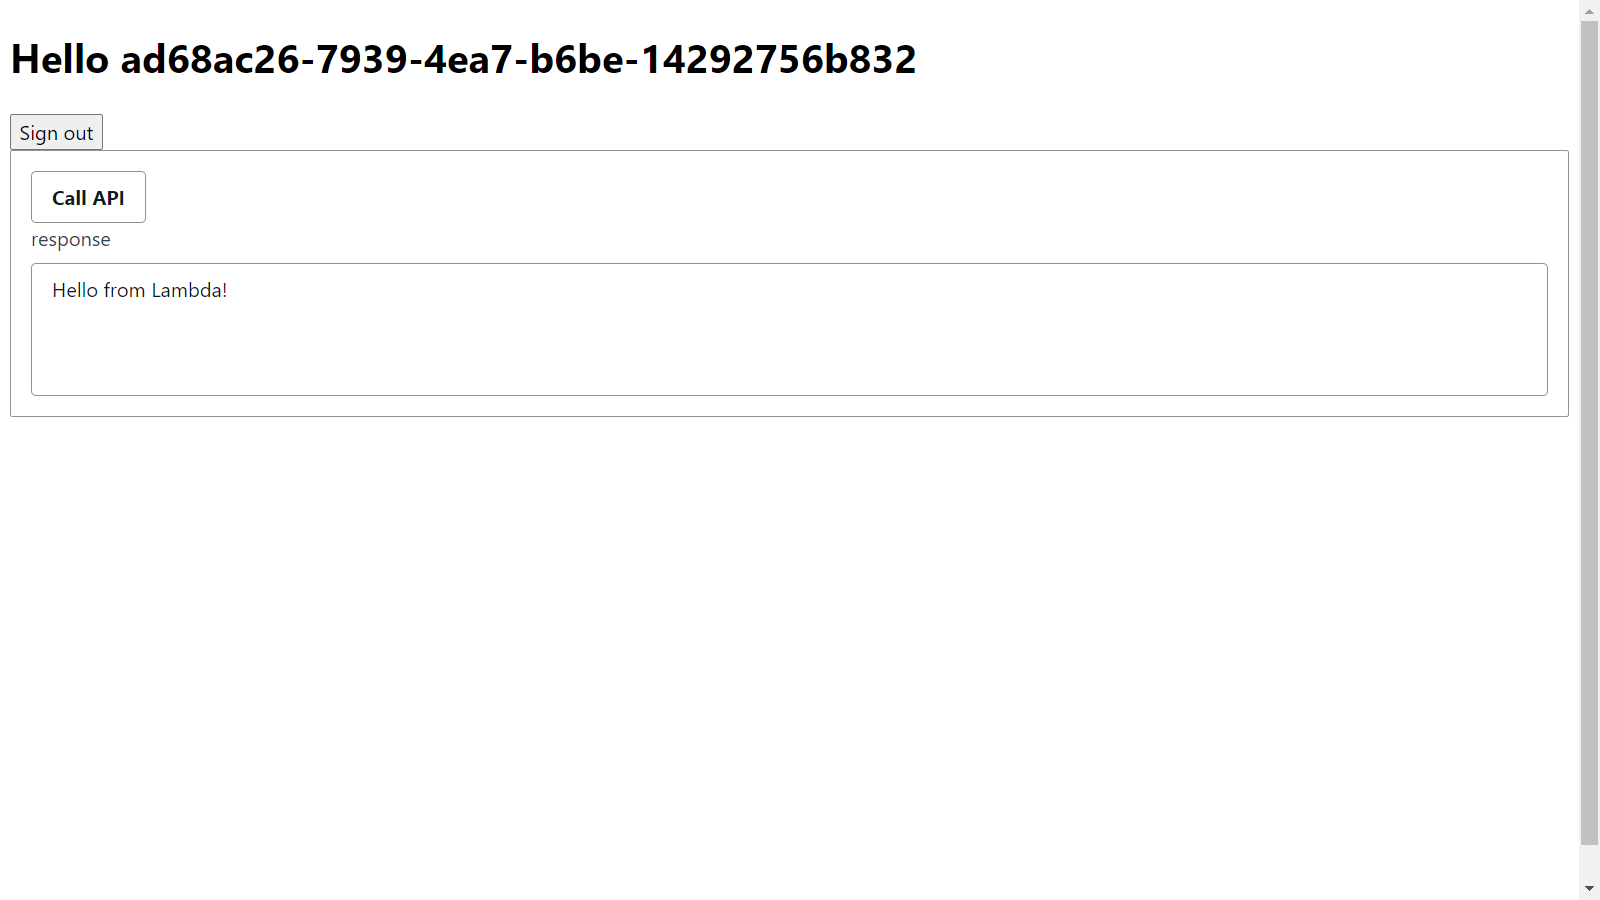
これでAPI呼び出しが成功します。

リクエストヘッダーを見るとトークンによるリクエストを行っていることが確認できます。
