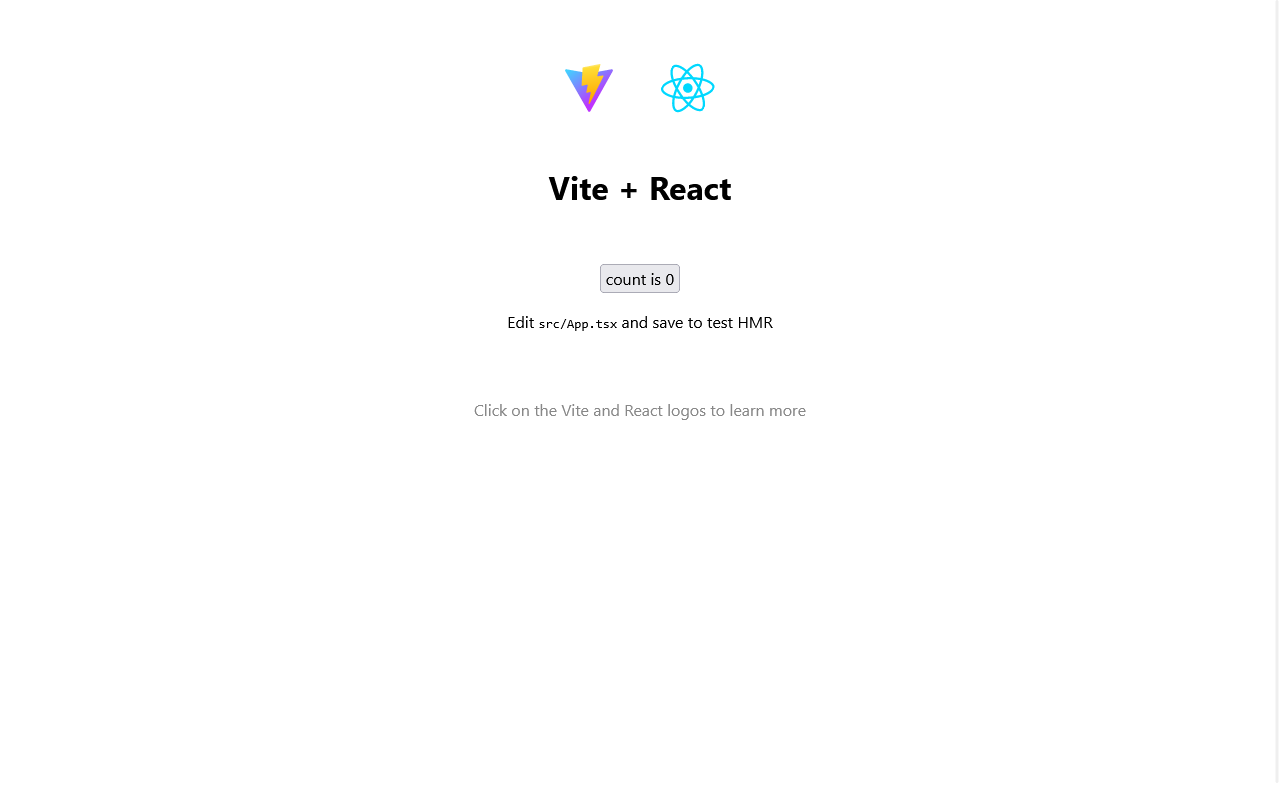
Amplifyプロジェクトを作成 - Vite編
Amplify CLIをインストール
shell
npm install -g @aws-amplify/cli
AWS認証情報を登録
shell
amplify configure
https://console.aws.amazon.com/
Press Enter to continue

Specify the AWS Region
? region:  ap-northeast-1

to complete the user creation in the AWS console
https://console.aws.amazon.com/iamv2/home#/users/create
Press Enter to continue
ドキュメントを参考にIAMユーザーを作成します。
- ユーザー名:
amplify-dev - ポリシー:
AdministratorAccess-Amplify
Access keysを作成します。ターミナルに戻り、アクセスキーとシークレットアクセスキーを入力します。
Enter the access key of the newly created user:
? accessKeyId:  ********************
? secretAccessKey:  ****************************************
This would update/create the AWS Profile in your local machine
? Profile Name:  default

Successfully set up the new user.
Reactプロジェクトを作成
shell
npm create vite@latest
✔ Project name: … amplify-vite-react
✔ Select a framework: › React
✔ Select a variant: › TypeScript
以下のファイルが生成されます。
shell
tree amplify-vite-react/
amplify-vite-react/
├── index.html
├── package.json
├── public
│   └── vite.svg
├── src
│   ├── App.css
│   ├── App.tsx
│   ├── assets
│   │   └── react.svg
│   ├── index.css
│   ├── main.tsx
│   └── vite-env.d.ts
├── tsconfig.json
├── tsconfig.node.json
└── vite.config.ts

3 directories, 12 files
Amplifyプロジェクトとして初期化
shell
cd amplify-vite-react/
amplify init
Note: It is recommended to run this command from the root of your app directory
? Enter a name for the project amplifyvitereact
The following configuration will be applied:

Project information
| Name: amplifyvitereact
| Environment: dev
| Default editor: Visual Studio Code
| App type: javascript
| Javascript framework: react
| Source Directory Path: src
| Distribution Directory Path: build
| Build Command: npm run-script build
| Start Command: npm run-script start

? Initialize the project with the above configuration? Yes
Using default provider  awscloudformation
? Select the authentication method you want to use: AWS profile

For more information on AWS Profiles, see:
https://docs.aws.amazon.com/cli/latest/userguide/cli-configure-profiles.html

? Please choose the profile you want to use default
Adding backend environment dev to AWS Amplify app: ded260p6uv54w

Deployment completed.
Deploying root stack amplifyvitereact [ ==========------------------------------ ] 1/4
        amplify-amplifyvitereact-dev-… AWS::CloudFormation::Stack     CREATE_IN_PROGRESS             Tue
        AuthRole                       AWS::IAM::Role                 CREATE_IN_PROGRESS             Tue
        DeploymentBucket               AWS::S3::Bucket                CREATE_COMPLETE                Tue
        UnauthRole                     AWS::IAM::Role                 CREATE_IN_PROGRESS             Tue

✔ Help improve Amplify CLI by sharing non sensitive configurations on failures (y/N) · no
Deployment state saved successfully.
✔ Initialized provider successfully.
✅ Initialized your environment successfully.

Your project has been successfully initialized and connected to the cloud!

Some next steps:
"amplify status" will show you what you've added already and if it's locally configured or deployed
"amplify add <category>" will allow you to add features like user login or a backend API
"amplify push" will build all your local backend resources and provision it in the cloud
"amplify console" to open the Amplify Console and view your project status
"amplify publish" will build all your local backend and frontend resources (if you have hosting category added) and provision it in the cloud

Pro tip:
Try "amplify add api" to create a backend API and then "amplify push" to deploy everything
ViteプロジェクトのAmplify向け修正
Viteで作成したプロジェクトでAmplifyを使用する場合に、少し修正が必要となります。
参考:ドキュメント
index.html
<!DOCTYPE html>
<html lang="en">
  <head>
    <meta charset="UTF-8" />
    <link rel="icon" type="image/svg+xml" href="/vite.svg" />
    <meta name="viewport" content="width=device-width, initial-scale=1.0" />
    <title>Vite + React + TS</title>
  </head>
  <body>
    <div id="root"></div>
    <script type="module" src="/src/main.tsx"></script>
    <script>
      window.global = window;
      window.process = {
        env: { DEBUG: undefined },
      }
      var exports = {};
    </script>
  </body>
</html>
vite.config.ts
import { defineConfig } from 'vite'
import react from '@vitejs/plugin-react'

// https://vitejs.dev/config/
export default defineConfig({
  plugins: [react()],
  resolve: {
    alias: [
      {
        find: './runtimeConfig',
        replacement: './runtimeConfig.browser',
      },
    ]
  },
  build: {
    outDir: 'build'
  }
})
Amplifyライブラリーインストール
shell
npm install
npm install @aws-amplify/ui-react aws-amplify
ソースコードの修正
src/main.tsx
import React from 'react'
import ReactDOM from 'react-dom/client'
import App from './App'

import { Amplify } from 'aws-amplify';

import '@aws-amplify/ui-react/styles.css';

import awsExports from './aws-exports';
Amplify.configure(awsExports);

ReactDOM.createRoot(document.getElementById('root') as HTMLElement).render(
  <React.StrictMode>
    <App />
  </React.StrictMode>,
)
注記
import awsExports from './aws-exports';にエラーの波線が表示されるのが気になる場合は、tsconfig.jsonのallowJsをtrueに変更してください。
ローカル環境で起動
shell
npm run dev

Amplify Hostingにデプロイ
- hostingを追加
shell
amplify hosting add
✔ Select the plugin module to execute · Amazon CloudFront and S3
✔ Select the environment setup: · PROD (S3 with CloudFront using HTTPS)
✔ hosting bucket name · amplifyvitereact-20230402131240-hostingbucket
- 公開
shell
amplify publish -c
✔ Successfully pulled backend environment dev from the cloud.

    Current Environment: dev

┌──────────┬─────────────────┬───────────┬───────────────────┐
│ Category │ Resource name   │ Operation │ Provider plugin   │
├──────────┼─────────────────┼───────────┼───────────────────┤
│ Hosting  │ S3AndCloudFront │ Create    │ awscloudformation │
└──────────┴─────────────────┴───────────┴───────────────────┘
✔ Are you sure you want to continue? (Y/n) · yes

Deploying resources into dev environment. This will take a few minutes. ⠹
Deploying root stack amplifyvitereact [ ---------------------------------------- ] 0/2
        hostingS3AndCloudFront         AWS::CloudFormation::Stack     CREATE_IN_PROGRESS             Sun Apr 02 2023 1
Deploying hosting S3AndCloudFront [ ==============================---------- ] 3/4
Deployment completed.
Deployed root stack amplifyvitereact [ ======================================== ] 2/2
        hostingS3AndCloudFront         AWS::CloudFormation::Stack     CREATE_COMPLETE                Sun Apr 02 2023 13:17:46…
        amplify-amplifyvitereact-dev-… AWS::CloudFormation::Stack     UPDATE_COMPLETE                Sun Apr 02 2023 13:17:49…
Deployed hosting S3AndCloudFront [ ======================================== ] 4/4
        OriginAccessIdentity           AWS::CloudFront::CloudFrontOr… CREATE_COMPLETE                Sun Apr 02 2023 13:13:50…
        S3Bucket                       AWS::S3::Bucket                CREATE_COMPLETE                Sun Apr 02 2023 13:14:12…
        CloudFrontDistribution         AWS::CloudFront::Distribution  CREATE_IN_PROGRESS             Sun Apr 02 2023 13:14:13…
        PrivateBucketPolicy            AWS::S3::BucketPolicy          CREATE_COMPLETE                Sun Apr 02 2023 13:14:20…

Deployment state saved successfully.

Hosting endpoint: https://d2mst9po3umj1a.cloudfront.net


> [email protected] build
> tsc && vite build

vite v4.2.1 building for production...
✓ 2779 modules transformed.
build/index.html                   0.61 kB
build/assets/react-35ef61ed.svg    4.13 kB
build/assets/index-eb3202a1.css  277.64 kB │ gzip: 31.03 kB
build/assets/index-7bb2f3b5.js   149.03 kB │ gzip: 48.22 kB
✓ built in 12.89s
frontend build command exited with code 0
Publish started for S3AndCloudFront
✔ Uploaded files successfully.
CloudFront invalidation request sent successfuly.
https://d2mst9po3umj1a.cloudfront.net
Your app is published successfully.
https://d2mst9po3umj1a.cloudfront.net
注記
amplify publishの-cオプションはCloudFrontのキャッシュ削除を要求するオプションです。
Send an invalidation request to the Amazon CloudFront service
CloudFront経由で公開されました。
