日本語対応の大規模言語モデルが色々出てきてますね😀
色々試してみたいですが高価なGPUが手元にない😥
そんなあなたにおすすめしたいのが、そう、Sagemaker!!
ちょっと試すだけなら数百円程度でお手軽に試せます。AWS素敵!!!
Hugging Faceで公開されているモデルLINEの大規模言語モデルをAmazon SageMakerにデプロイしてみます。

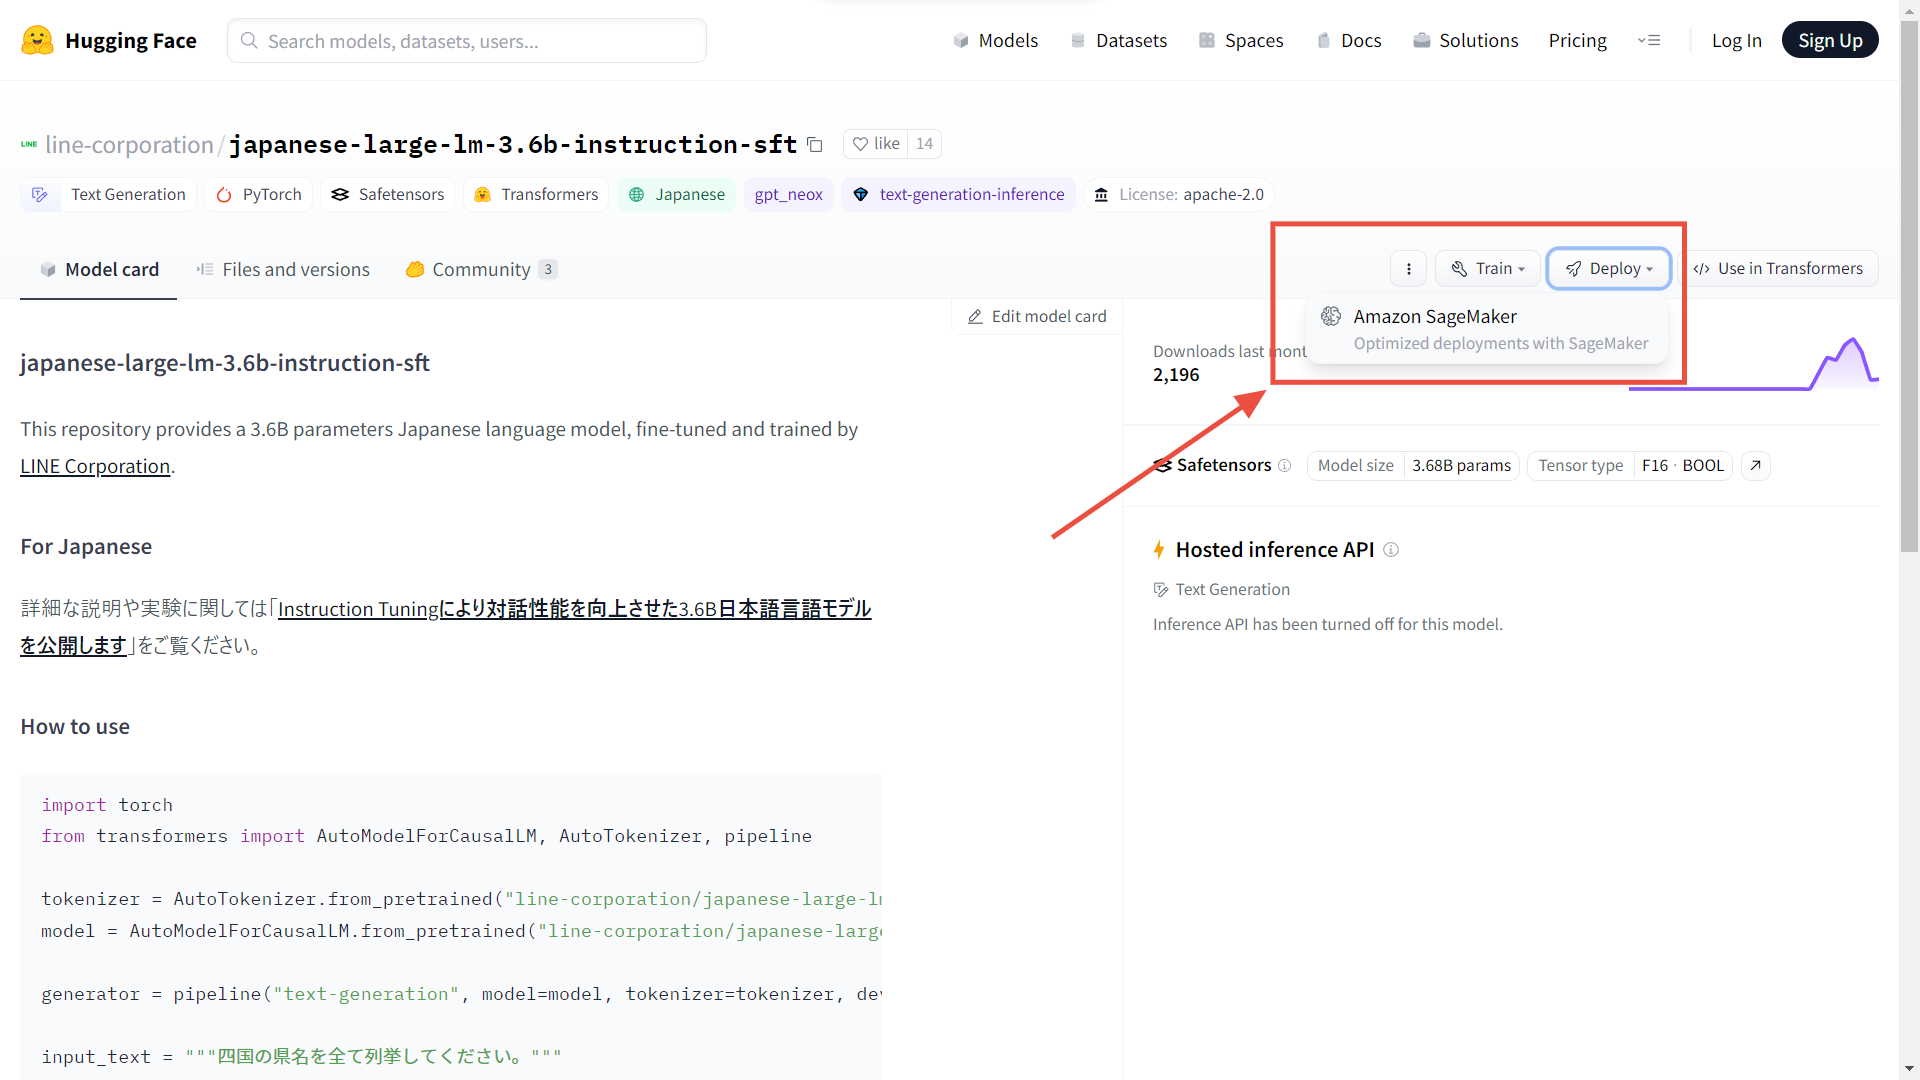
Hugging FaceのページにあるDeployボタンからSageMakerにデプロイできそうですが、ここのコードをそのまま実行してもうまくいきません。😫

提示されるコード
import json
import sagemaker
import boto3
from sagemaker.huggingface import HuggingFaceModel, get_huggingface_llm_image_uri

try:
    role = sagemaker.get_execution_role()
except ValueError:
    iam = boto3.client('iam')
    role = iam.get_role(RoleName='sagemaker_execution_role')['Role']['Arn']

# Hub Model configuration. https://huggingface.co/models
hub = {
    'HF_MODEL_ID':'line-corporation/japanese-large-lm-3.6b-instruction-sft',
    'SM_NUM_GPUS': json.dumps(1)
}


# create Hugging Face Model Class
huggingface_model = HuggingFaceModel(
    image_uri=get_huggingface_llm_image_uri("huggingface",version="0.9.3"),
    env=hub,
    role=role,
)

# deploy model to SageMaker Inference
predictor = huggingface_model.deploy(
    initial_instance_count=1,
    instance_type="ml.g5.2xlarge",
    container_startup_health_check_timeout=300,
  )

# send request
predictor.predict({
    "inputs": "My name is Clara and I am",
})
試行錯誤の結果、デプロイできましたので方法を紹介します。
事前準備
SageMakerライブラリーをインストールします。
pip install sagemaker --upgrade
手順
インポート
import sagemaker
import boto3
IAMロールの指定
AmazonSageMakerFullAccessポリシーがアタッチされたIAMロールを作成します。SageMaker StudioやSageMaker Notebookの場合は
sagemaker.get_execution_role()でIAMロールのARNを取得します。それ以外の環境ではIAMロール名からARNを取得します。try:
role = sagemaker.get_execution_role()
except ValueError:
iam = boto3.client('iam')
role = iam.get_role(RoleName='{AmazonSageMakerFullAccessがアタッチされたIAMロール名}')['Role']['Arn']Hugging FaceモデルIDを指定
model_id = 'line-corporation/japanese-large-lm-3.6b-instruction-sft'HuggingFaceModelの生成
HF_MODEL_ID
先程のモデルIDを指定します。
HF_TASK
pipelineの第一引数に指定するタスクを指定します。japanese-large-lm-3.6b-instruction-sftの場合は、How to useで以下のように例示があるため
text-generationを指定します。generator = pipeline("text-generation", model=model, tokenizer=tokenizer, device=0)
注意DeployボタンのコードにはこのHF_TASKがなかったのでうまくいきませんでした。transformers_version、pytorch_version、py_version
Inference DLC Overviewを参考に、推論に使用するDeep Learning Containerのバージョンを指定します。
from sagemaker.huggingface.model import HuggingFaceModel

# Hub model configuration <https://huggingface.co/models>
hub = {
  'HF_MODEL_ID': model_id, # model_id from hf.co/models
  'HF_TASK':'text-generation'          # NLP task you want to use for predictions
}

# create Hugging Face Model Class
huggingface_model = HuggingFaceModel(
   env=hub,                            # configuration for loading model from Hub
   role=role,                          # IAM role with permissions to create an endpoint
   transformers_version='4.28',        # Transformers version used
   pytorch_version='2.0',              # PyTorch version used
   py_version='py310',                 # Python version used
)
デプロイ
SageMakerエンドポイントにデプロイします。
# deploy model to SageMaker Inference
predictor = huggingface_model.deploy(
   initial_instance_count=1,
   instance_type='ml.g5.2xlarge',
)注記ml.g5.2xlargeのスペックと料金
- 8vCPU、32GBメモリ
- GPU NVIDIA A10G 24GBメモリ
- 2.197USD/時間(1581.84USD/月)
推論する
How to useの推論コードを参考にします。
How to useの推論コード
input_text = """四国の県名を全て列挙してください。"""
text = generator(
    f"ユーザー: {input_text}\nシステム: ",
    max_length = 256,
    do_sample = True,
    temperature = 0.7,
    top_p = 0.9,
    top_k = 0,
    repetition_penalty = 1.1,
    num_beams = 1,
    pad_token_id = tokenizer.pad_token_id,
    num_return_sequences = 1,
)
print(text)
# [{'generated_text': 'ユーザー: 四国の県名を全て列挙してください。\nシステム:  高知県、徳島県、香川県、愛媛県'}]
from transformers import AutoTokenizer
tokenizer = AutoTokenizer.from_pretrained(model_id, use_fast=False)

input_text = '''四国の県名を全て列挙してください。'''

data = {
   'inputs': f'ユーザー: {input_text}\nシステム: ',
   'parameters': {
      'max_length': 1024,
      'do_sample': True,
      'temperature': 0.7,
      'top_p': 0.9,
      'top_k': 0,
      'repetition_penalty': 1.1,
      'num_beams': 1,
      'pad_token_id' : tokenizer.pad_token_id,
      'num_return_sequences': 1,
   }
}

# request
predictor.predict(data)
- レスポンス
[{'generated_text': 'ユーザー: 四国の県名を全て列挙してください。\nシステム: 徳島県、香川県、愛媛県<0x0A><0x0A>As for the prefecture of Saitama, it is the "Kanto-East".<0x0A>As for the prefecture of Tochigi, it is the "Central-West".<0x0A>As for the prefecture of Ehime, it is the "Southern-Central".'}]
SageMakerで動きました。
他のモデルでも挑戦
rinna/japanese-gpt-neox-3.6b-instruction-ppo(結果:OK)
from transformers import AutoTokenizer
tokenizer = AutoTokenizer.from_pretrained(model_id, use_fast=False)

prompt = [
    {
        "speaker": "ユーザー",
        "text": "コンタクトレンズを慣れるにはどうすればよいですか?"
    },
    {
        "speaker": "システム",
        "text": "これについて具体的に説明していただけますか?何が難しいのでしょうか?"
    },
    {
        "speaker": "ユーザー",
        "text": "目が痛いのです。"
    },
    {
        "speaker": "システム",
        "text": "分かりました、コンタクトレンズをつけると目がかゆくなるということですね。思った以上にレンズを外す必要があるでしょうか?"
    },
    {
        "speaker": "ユーザー",
        "text": "いえ、レンズは外しませんが、目が赤くなるんです。"
    }
]
prompt = [
    f"{uttr['speaker']}: {uttr['text']}"
    for uttr in prompt
]
prompt = "<NL>".join(prompt)
prompt = (
    prompt
    + "<NL>"
    + "システム: "
)
[{'generated_text': 'ユーザー: コンタクトレンズを慣れるにはどうすればよいですか?<NL>システム: これについて具体的に説明していただけますか?何が難しいのでしょうか?<NL>ユーザー: 目が痛いのです。<NL>システム: 分かりました、コンタクトレンズをつけると目がかゆくなるということですね。思った以上にレンズを外す必要があるでしょうか?<NL>ユーザー: いえ、レンズは外しませんが、目が赤くなるんです。<NL>システム: コンタクトレンズ用の目薬を使用することで、目の乾燥を防ぐことができます。また、コンタクトレンズを清潔に保つことが大切です。これにより、目の刺激や炎症などの問題を予防できます。'}]
cyberagent/open-calm-3b(結果:OK)
AIによって私達の暮らしは、
[{'generated_text': 'AIによって私達の暮らしは、大きく変わりつつあります。そんな中今回紹介するのは、「VRで未来の生活を体験できる」というイベント「HourFace2.0, VR Future Moment.」です。\n3D空間で展開される仮想現実を体感できそうな空間・時間軸の中で様々な体験ができるという内容になっていますが・・これはちょっと凄いかも!'}]
もっと良さげなものがありました😉
今回紹介した方法は、HuggingFace Inference Containersというものを使った方法です。
これとは別に大規模言語モデルに最適化されたHuggingFace Text Generation Inference Containersというものがあることがわかりました。

これを使うと7Bを超えるパラメーター数があるモデルも簡単にデプロイすることができました。
- cyberagent/open-calm-7b
- matsuo-lab/weblab-10b-instruction-sft
- elyza/ELYZA-japanese-Llama-2-7b-fast-instruct
meta-llama/Llama-2-7b-chatはまだ試せてませんが、やってみたいと思います。
エラーになったもの
- stabilityai/japanese-stablelm-base-alpha-7b

Error: ShardCannotStart
  File "/opt/conda/lib/python3.9/site-packages/text_generation_server/models/__init__.py", line 120, in get_model
    model_type = config_dict["model_type"]
config.jsonにmodel_typeがないからだと思います。
検証ソースコード
GitHubにアップロードしています。
参考